In 2023, PGYTECH may have made the ultimate camera backpack with the OneMo 2. In 2025, PGYTECH released the latest iteration of their EDC series, the OneGo 2. Continuing with their track record of quality and comprehensive response to user feedback, I may dare say that this may be an[other] ultimate backpack for the not-so-ultimate days.
For full disclosure, I’m a guest writer who has worked with Paul on several occasions in the past year. This summer, I assisted on a multiday documentary project, trailing a modern chamber quartet through four cities. It was during this time and afterwards that I’ve had the opportunity to try out PGYTECH’s OneGo 2 20L Backpack first-hand. If you’re short on time and wondering if you should consider this bag, I’ll tell you now: The answer is, “Yes.” If you’re still curious, allow me to tell you why.
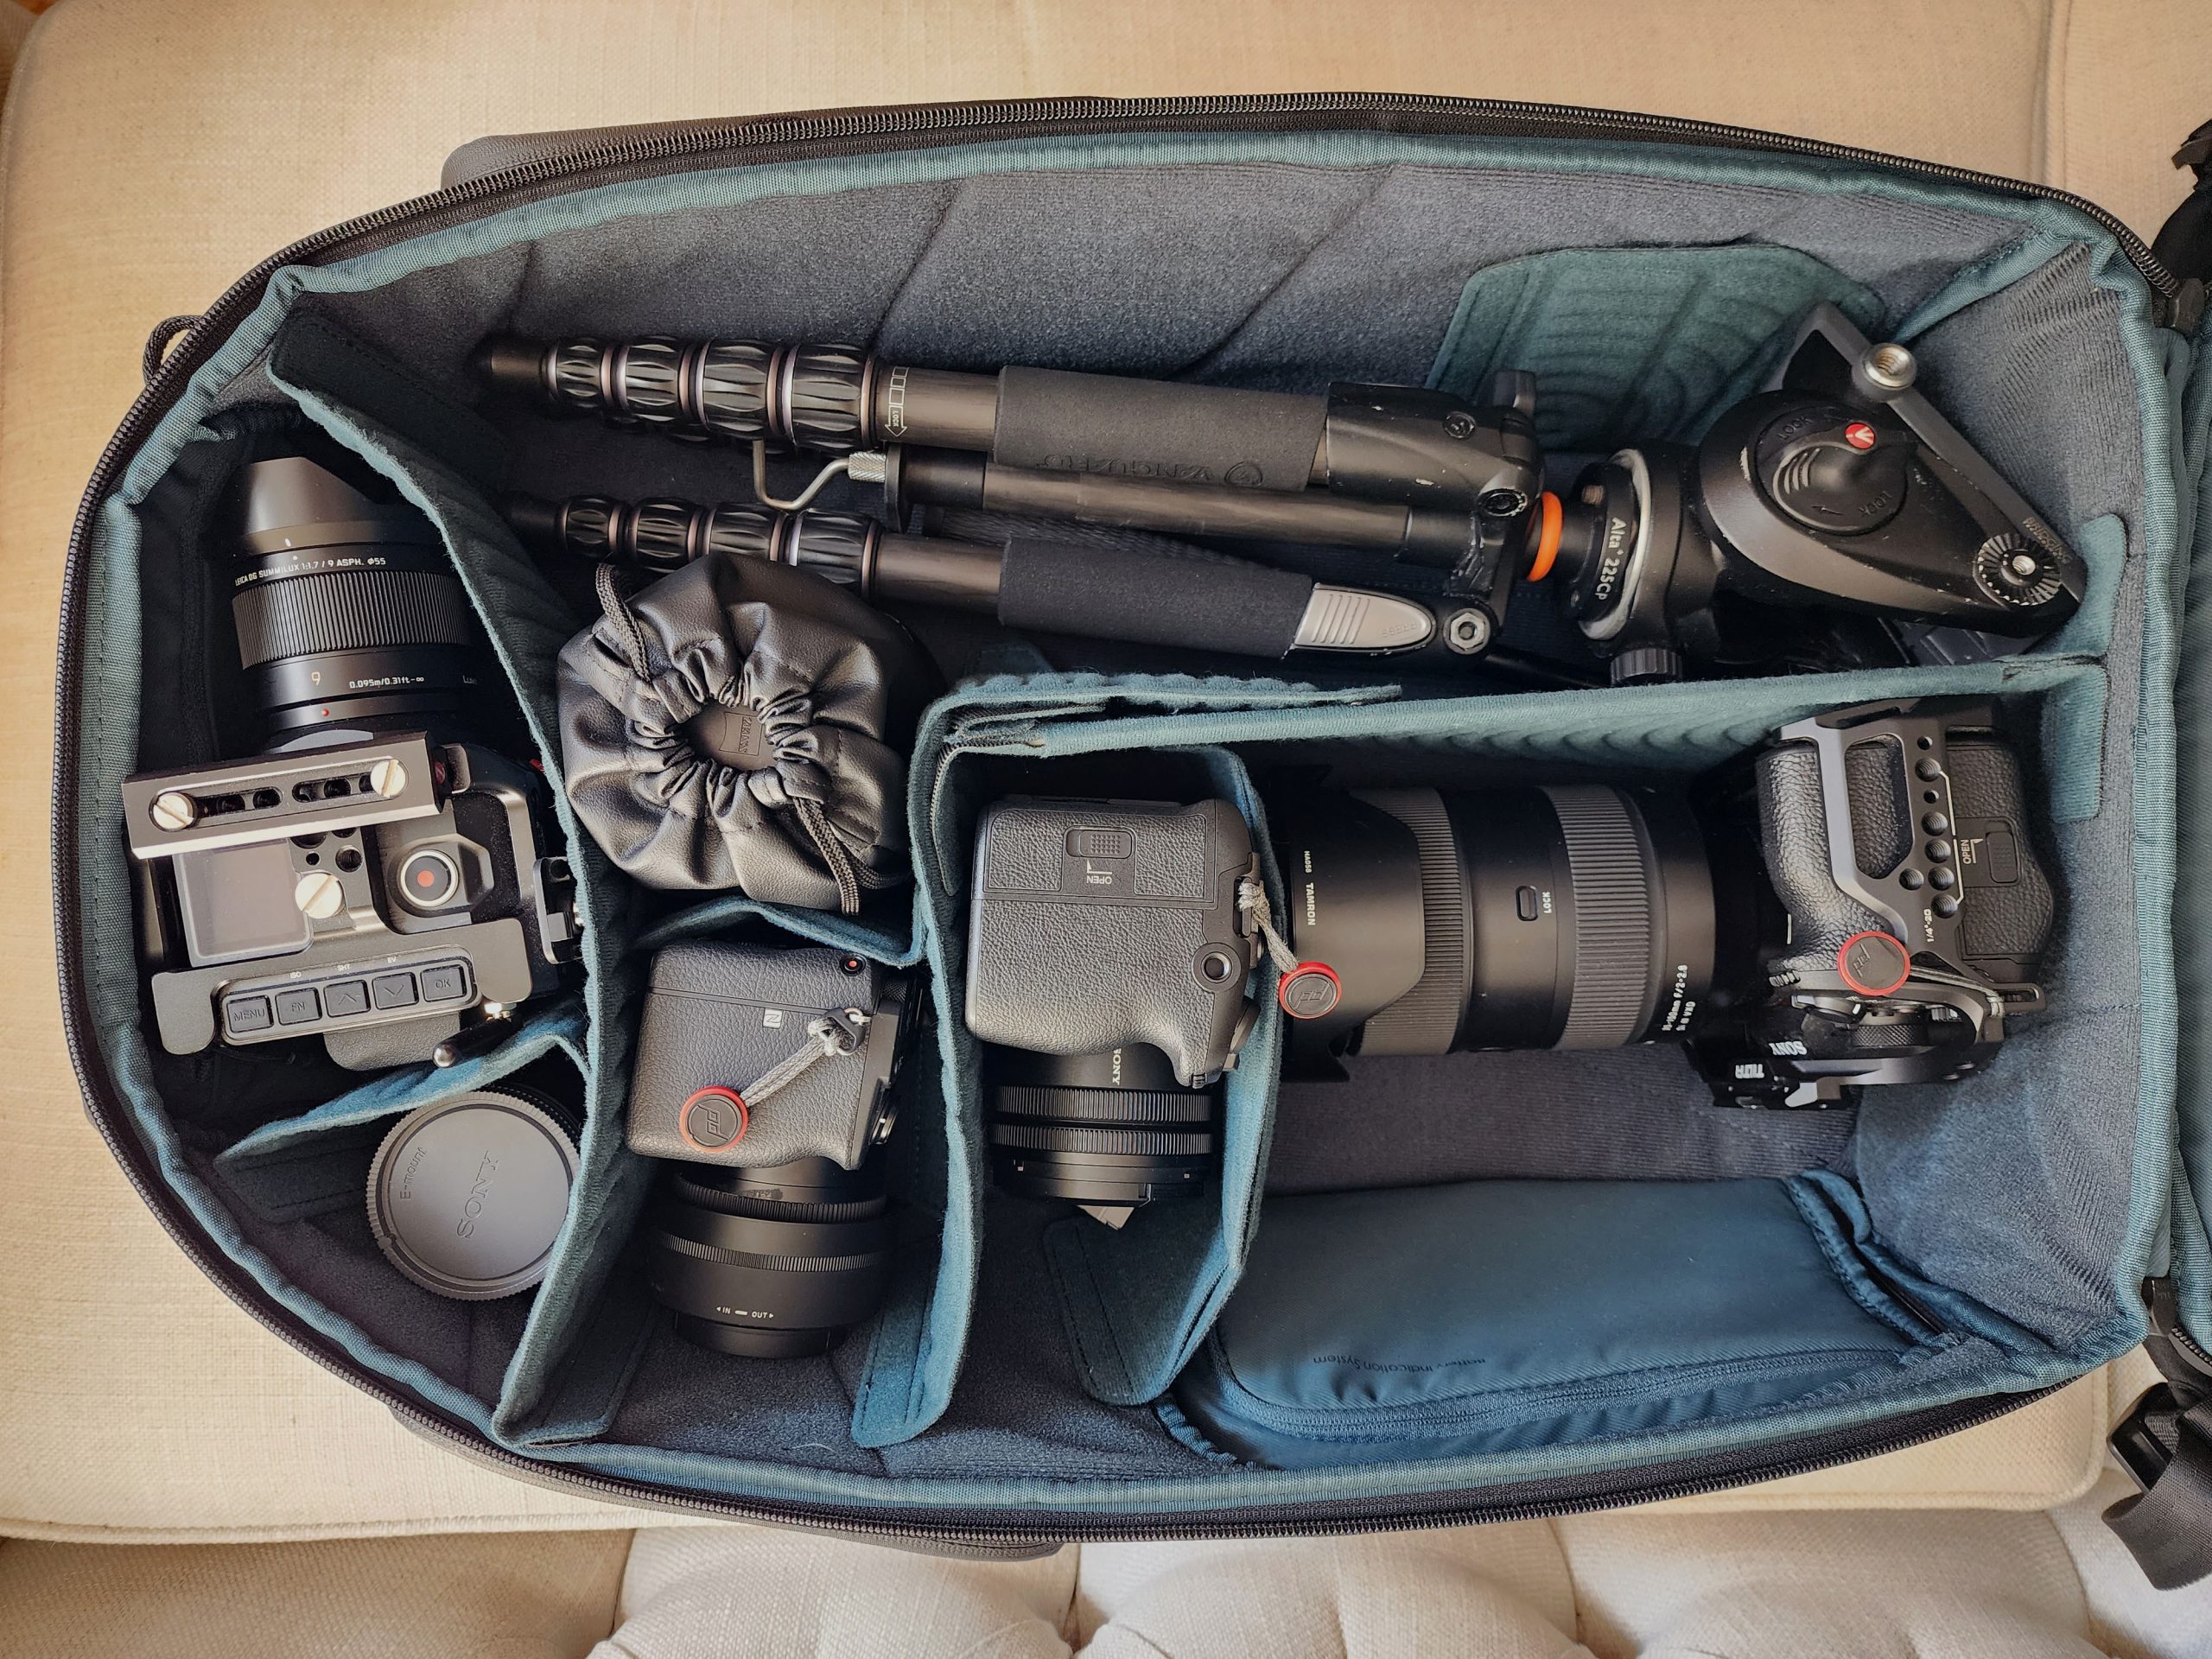
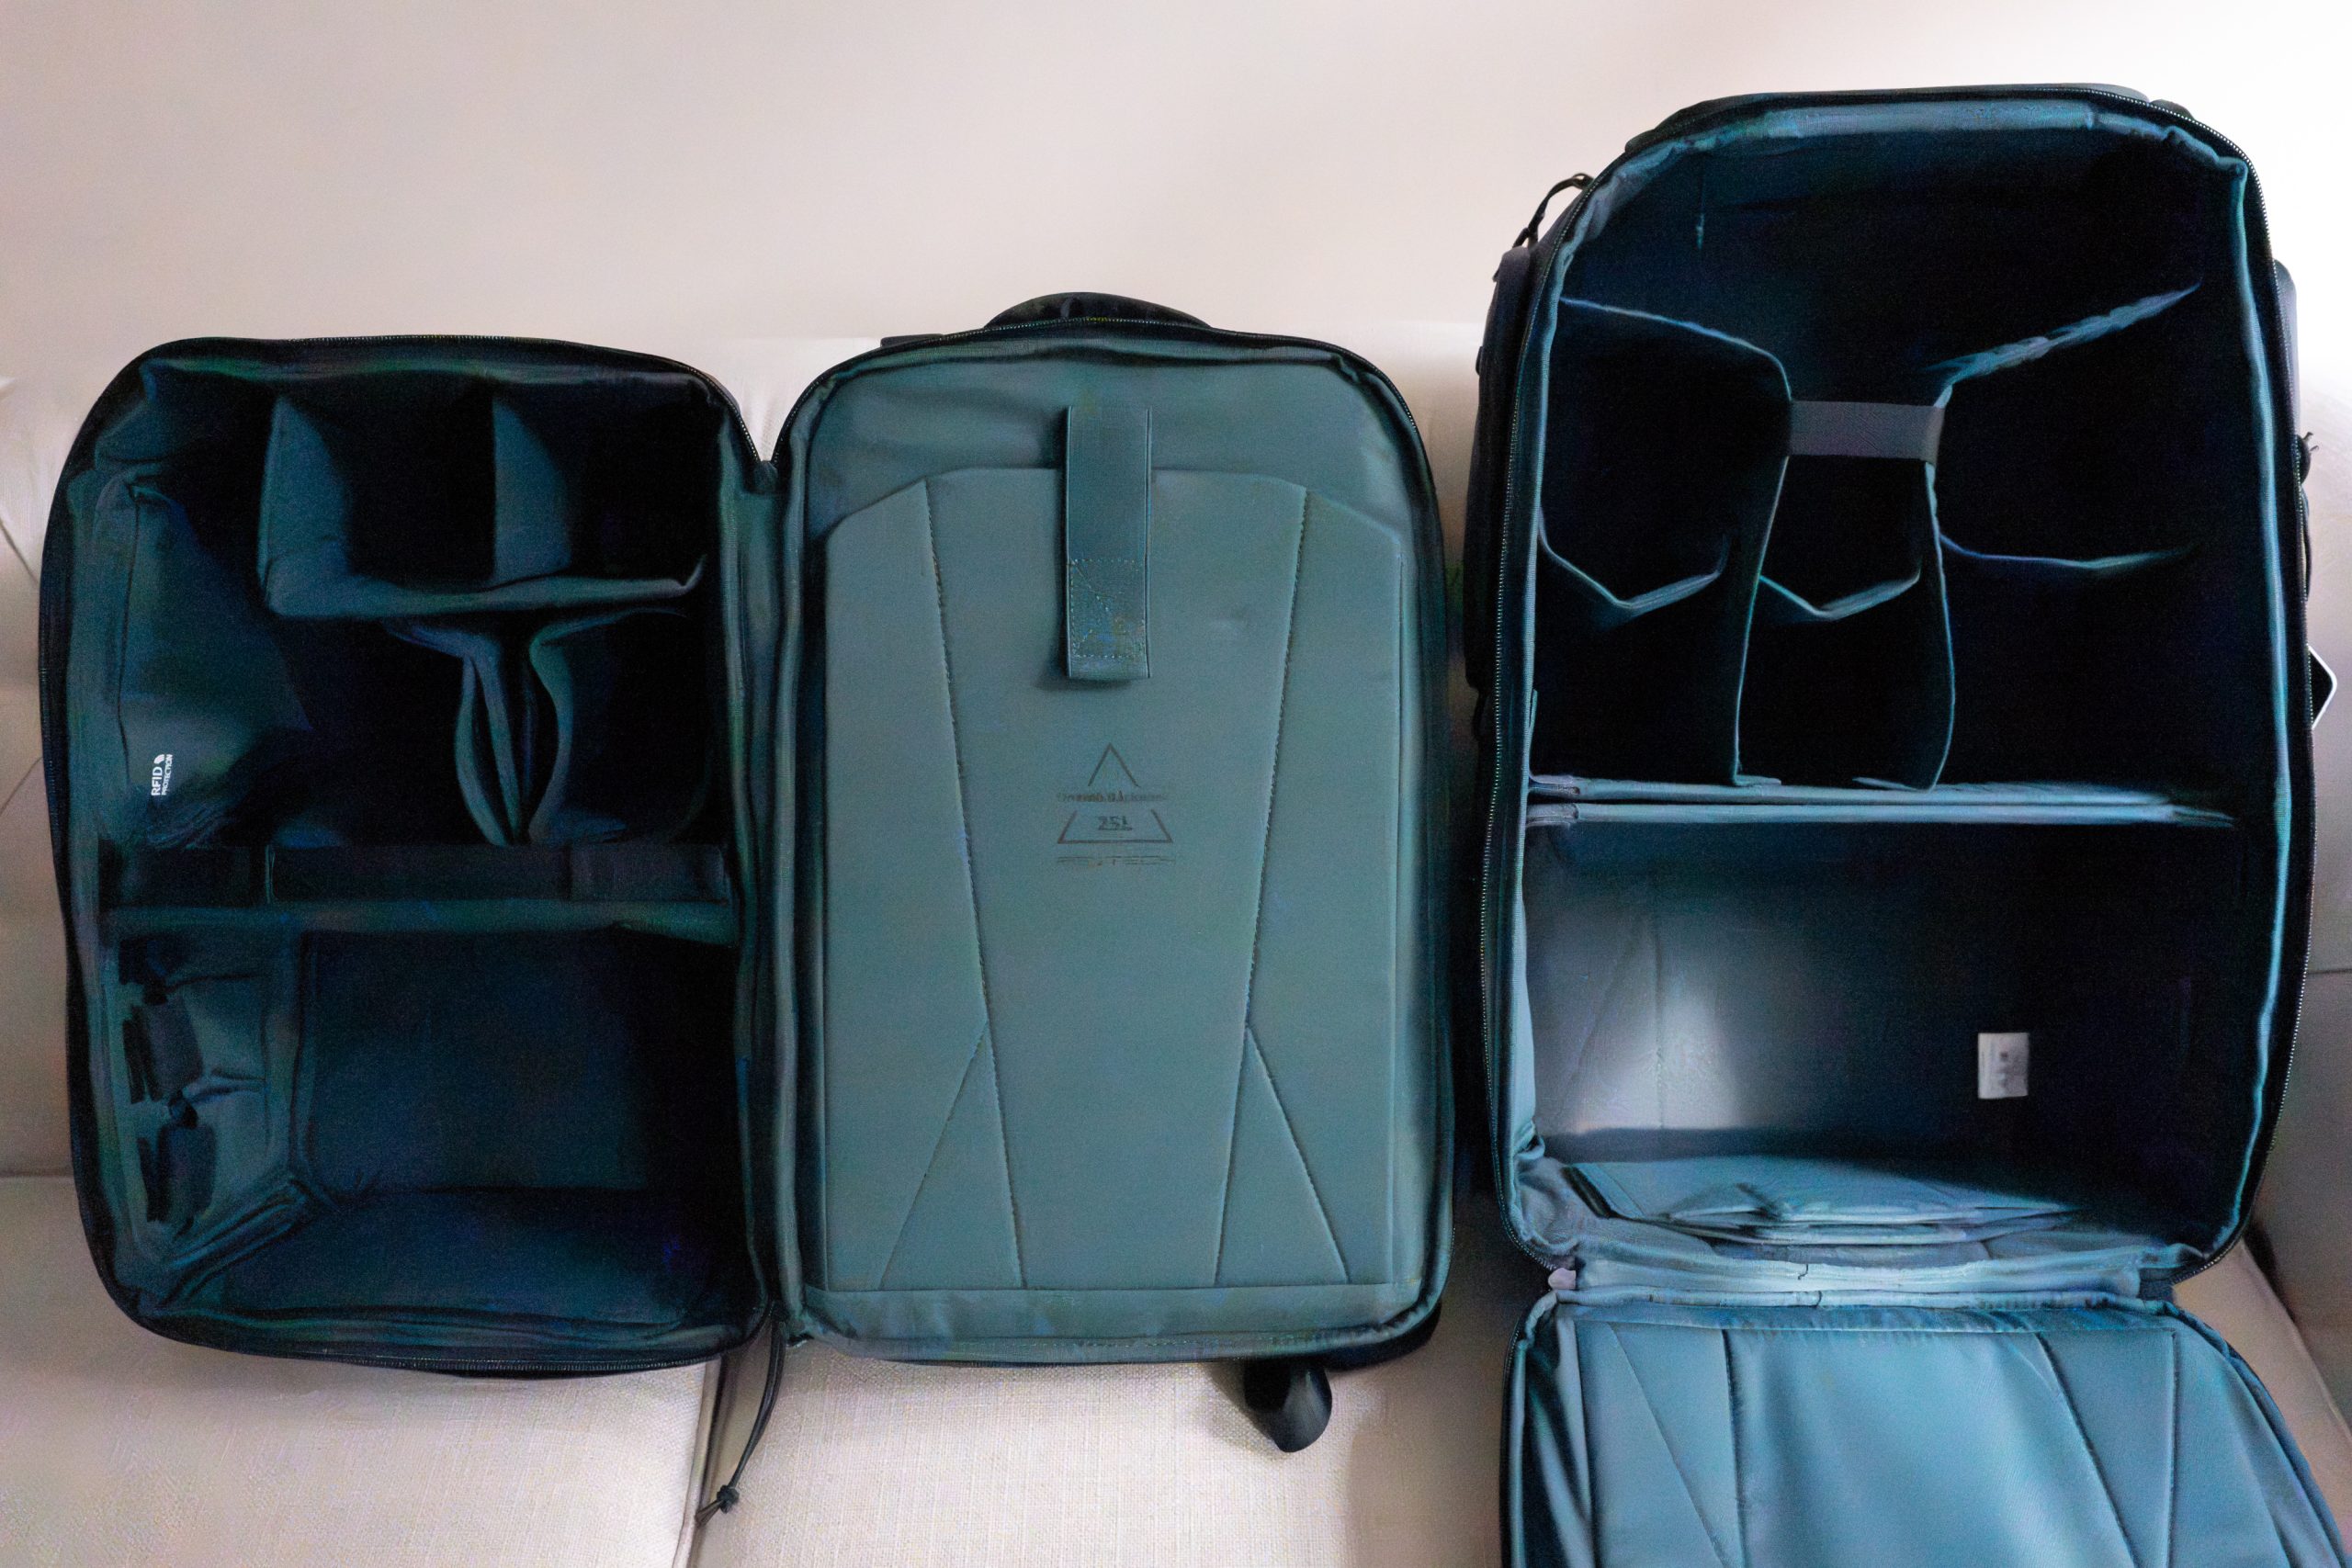
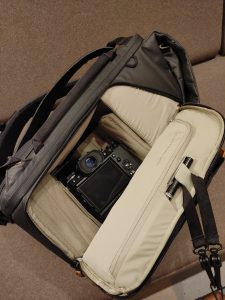
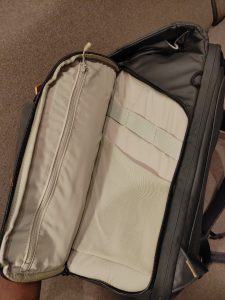
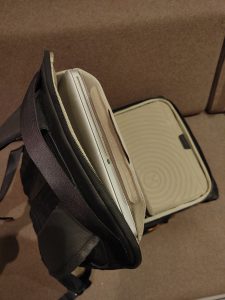
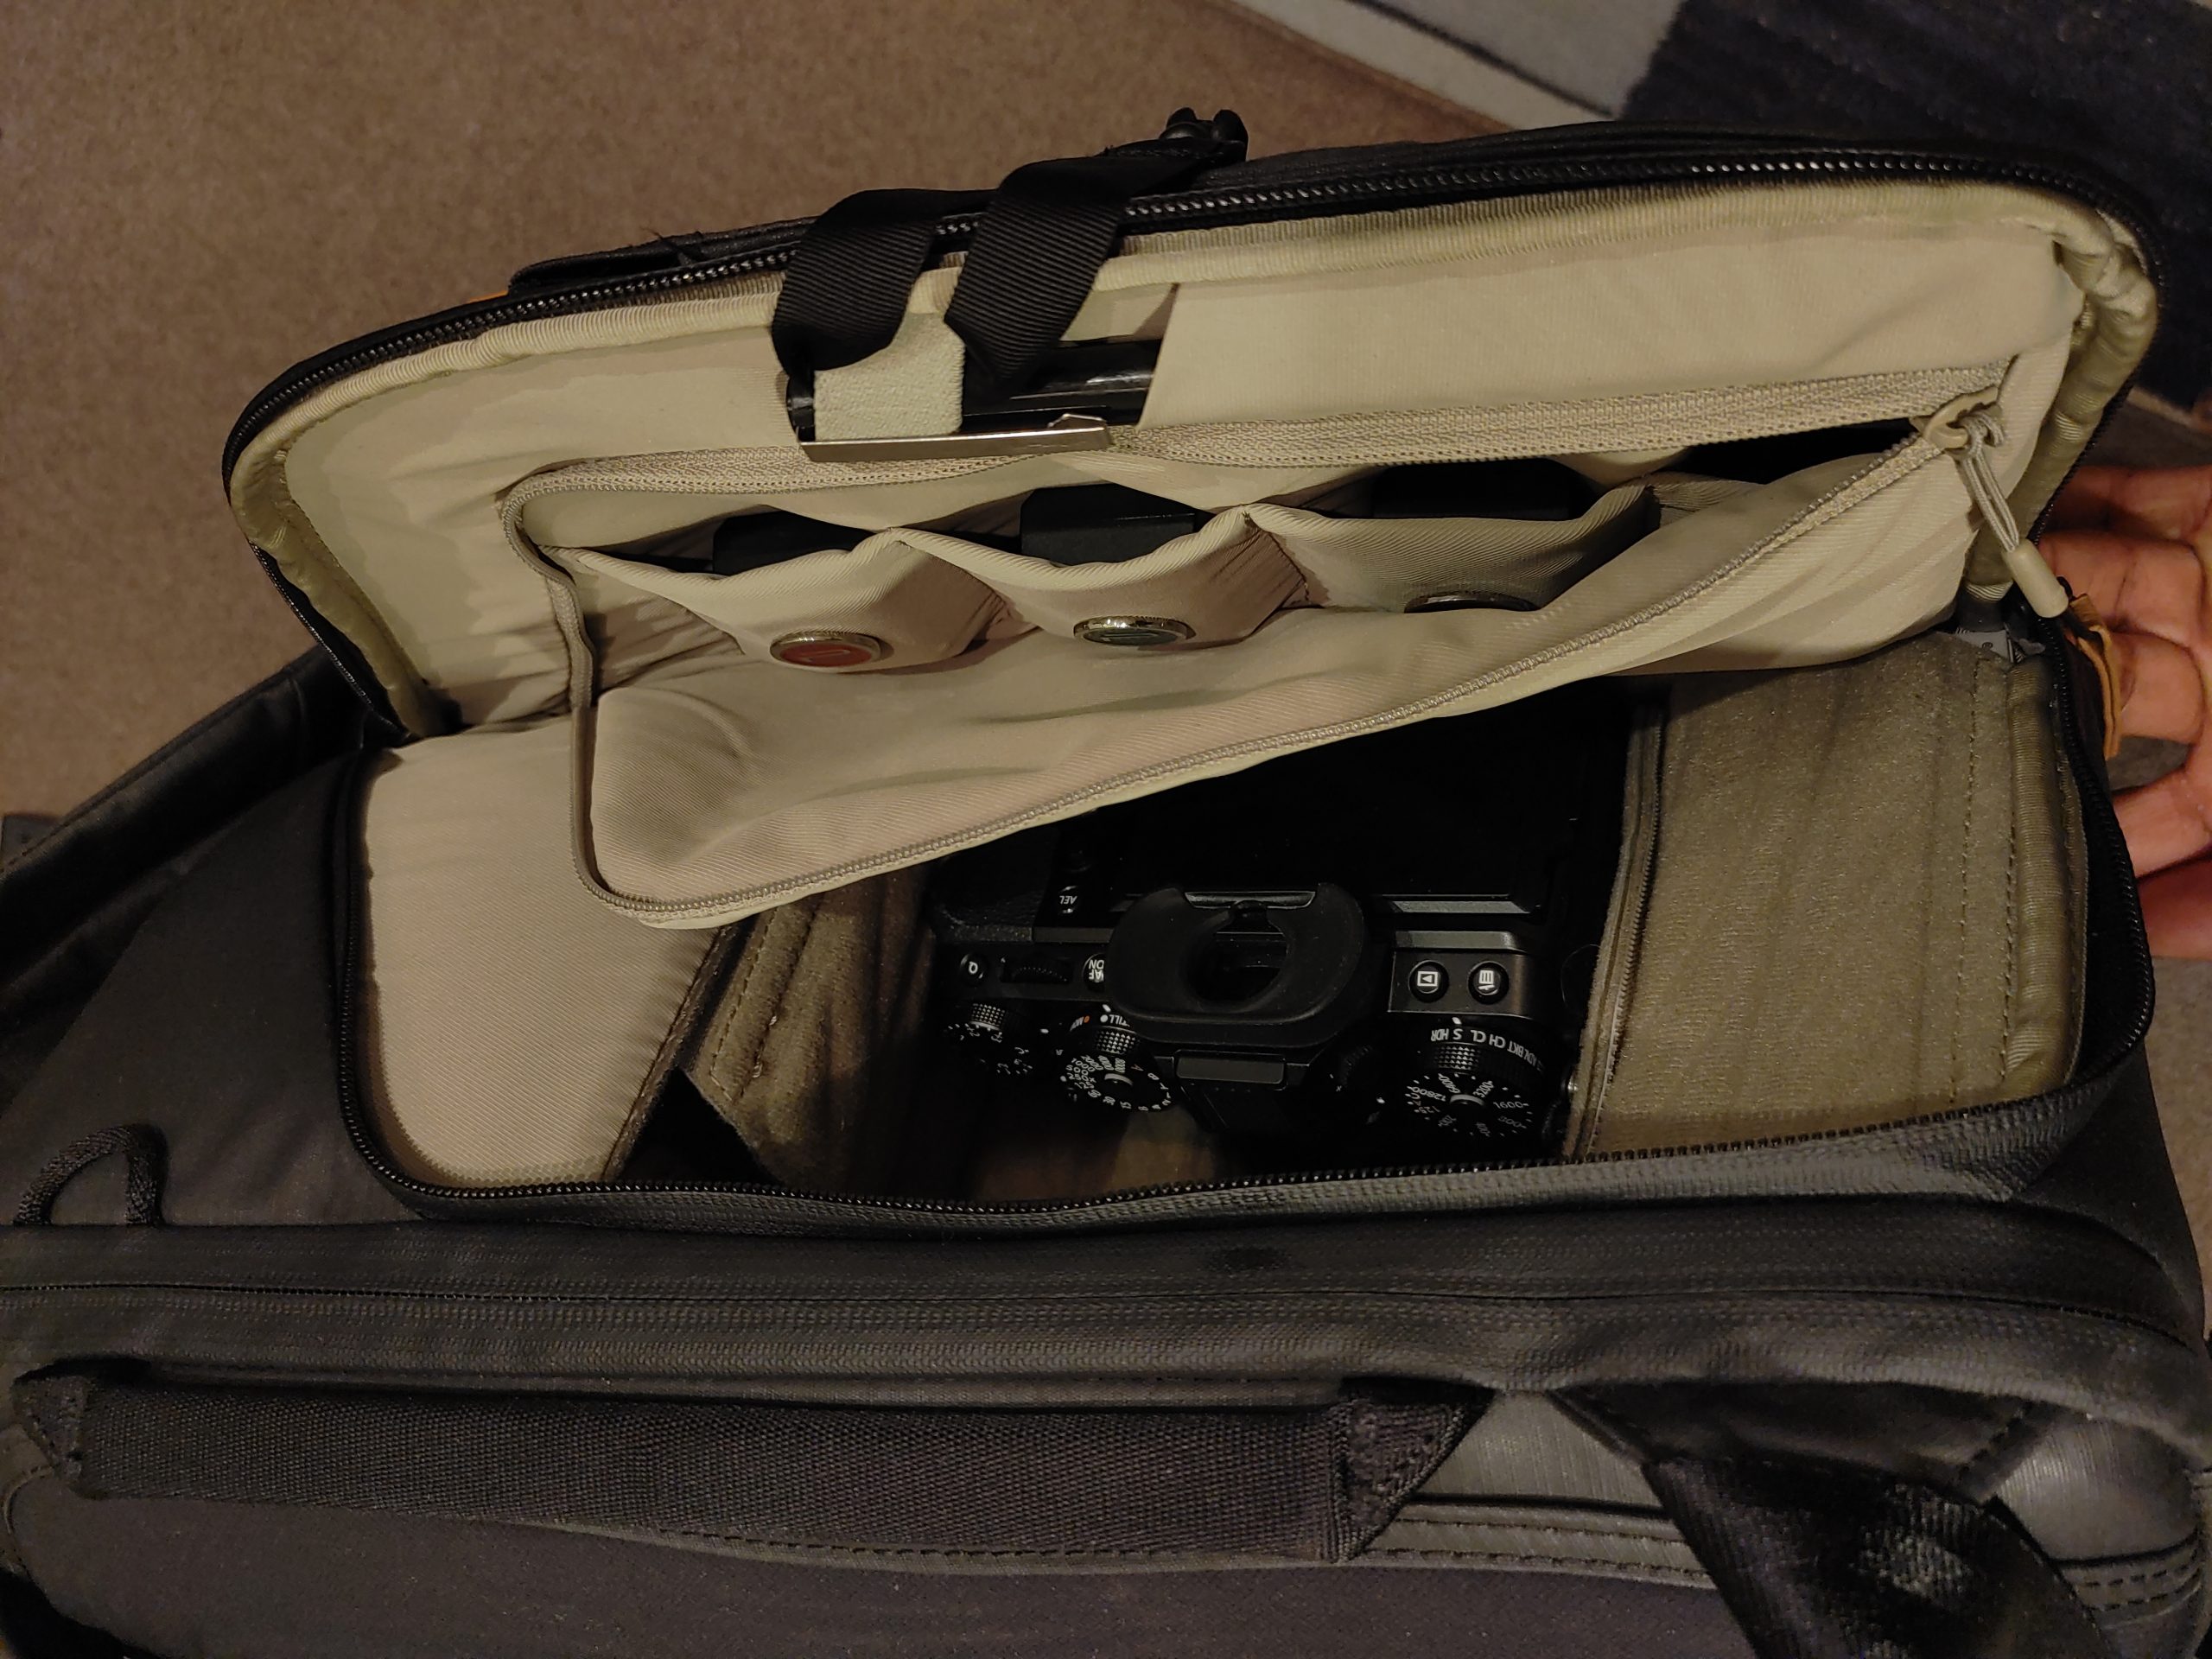
Starting from the inside, The OneGo 2 opens at the back with two main sections: a top half that opens up at the lid for upright storage and a multi-section lower half intended for access with the bag laid flat. Each half features soft padded lining and a combination of rigid and flexible dividers with Velcro attachments which can be configured as you see fit. There are also adjustable elastic bands to secure longer items, including telephoto lenses, smaller tripods and stands, or mics. The top half can also fold down if one wants a continuous unit of flat storage, like the OneMo 2. The back panel has two sleeves to accommodate a laptop, tablet, documents, or all of the above. The top sleeve has rigid padded lining intended for devices and includes a magnetic enclosure. I tried fitting in my CD-drive laptop with satisfactory results. The computer fit in the sleeve, but its thickness couldn’t allow for the magnetic closure to seal completely. This is really a non-issue as the sleeve is still incredibly secure and would fit most laptops made in the last ten years with no problems. The second sleeve doesn’t have a closure, but has enough stretch to fit and constrict a tablet on top of the laptop if need be. In short, this bag makes the inside count.
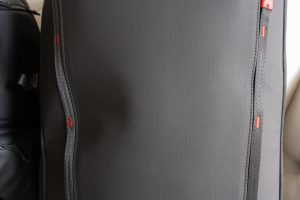
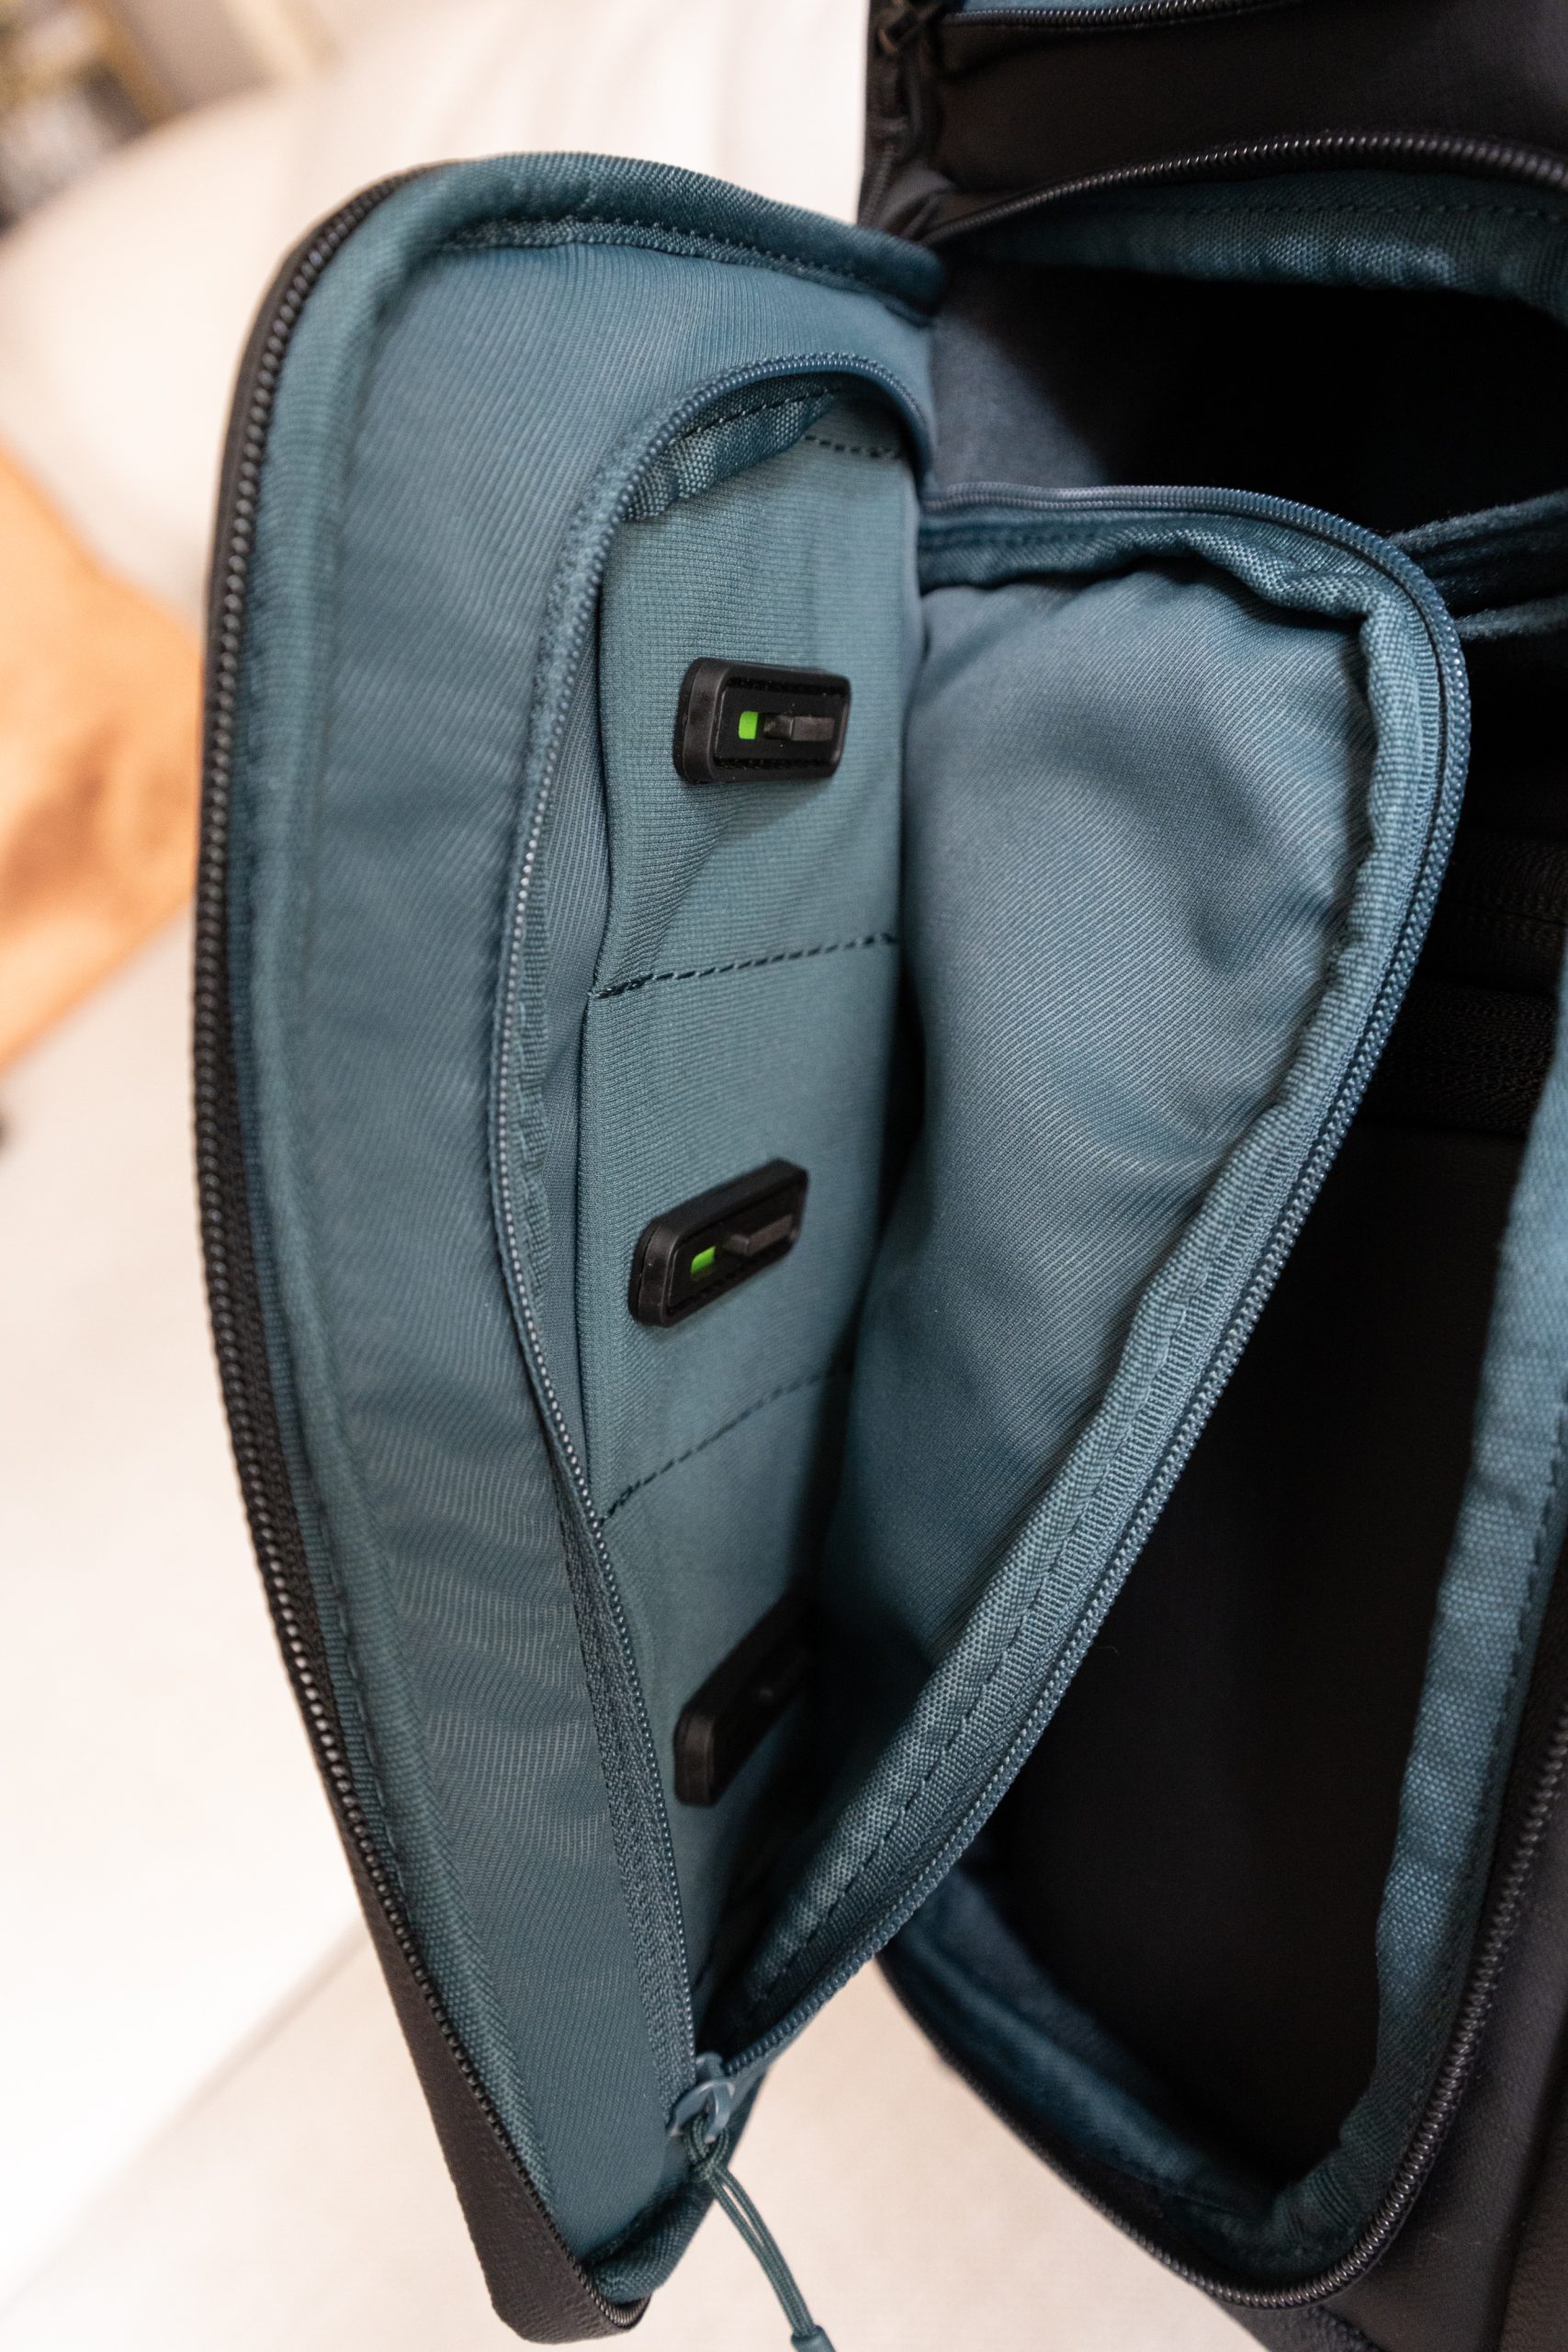
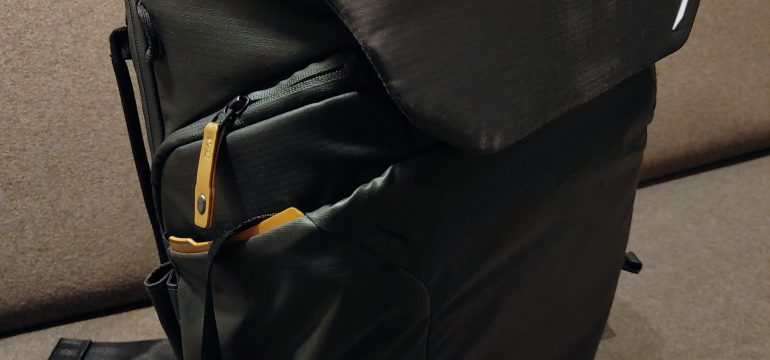
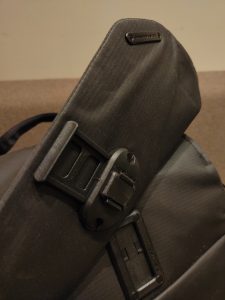
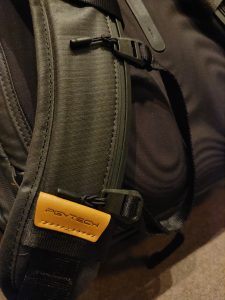
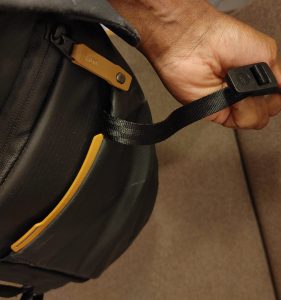
From the outside, the OneGo 2 has a streamlined durable synthetic rip-stop shell, with a top hatch and exterior panel with rigid cores and double-sleeved elastic side panels that have partial zippered openings. One side panel has interior access, allowing for a “quick-draw” of a camera without taking off your bag. This panel also has a slim pocket and loop for pens and a zippered pocket, which contains camera battery slots and an analog battery indicator system. Basically, small magnetic disks you can flip from a red or green side to note if it’s charged or not. I’m pretty new to camera gear and accessories and this was a very pleasant surprise. I actually smiled when I first discovered this feature; it felt like a thoughtful gift. It gets even better, though — the indicator disks can also double as a screwdriver for tripod plates or thread converters! The other side panel opens up as a slim compartment with a zippered pocket for extra storage. Getting back to the top hatch, this is probably my favorite part of the bag. The hatch is secured by a quick-release magnetic buckle. You push in a tab and lift to release. It’s a great design and honestly took me a couple of tries to get used to it, but it’s amazing. It only takes two fingers to open and it pretty much closes by itself. I use the top compartment for my primary camera and various powering options. The exterior panel also has a zipper pocket, which I use for lens wipes and other small bits. I personally prefer top access to a primary camera than using the side because I don’t have to zip or unzip anything. The magnetic latch is incredibly convenient while feeling incredibly secure. The list of features keeps on going: The padded shoulder straps have ridges that facilitate a clip-on system for straps or camera clips. And finally, the bottom of the bag has loops that straps can hook onto for storing a tripod or other lengthy items. It’s pretty clear that this simple-looking bag has many clever tricks up its many sleeves.
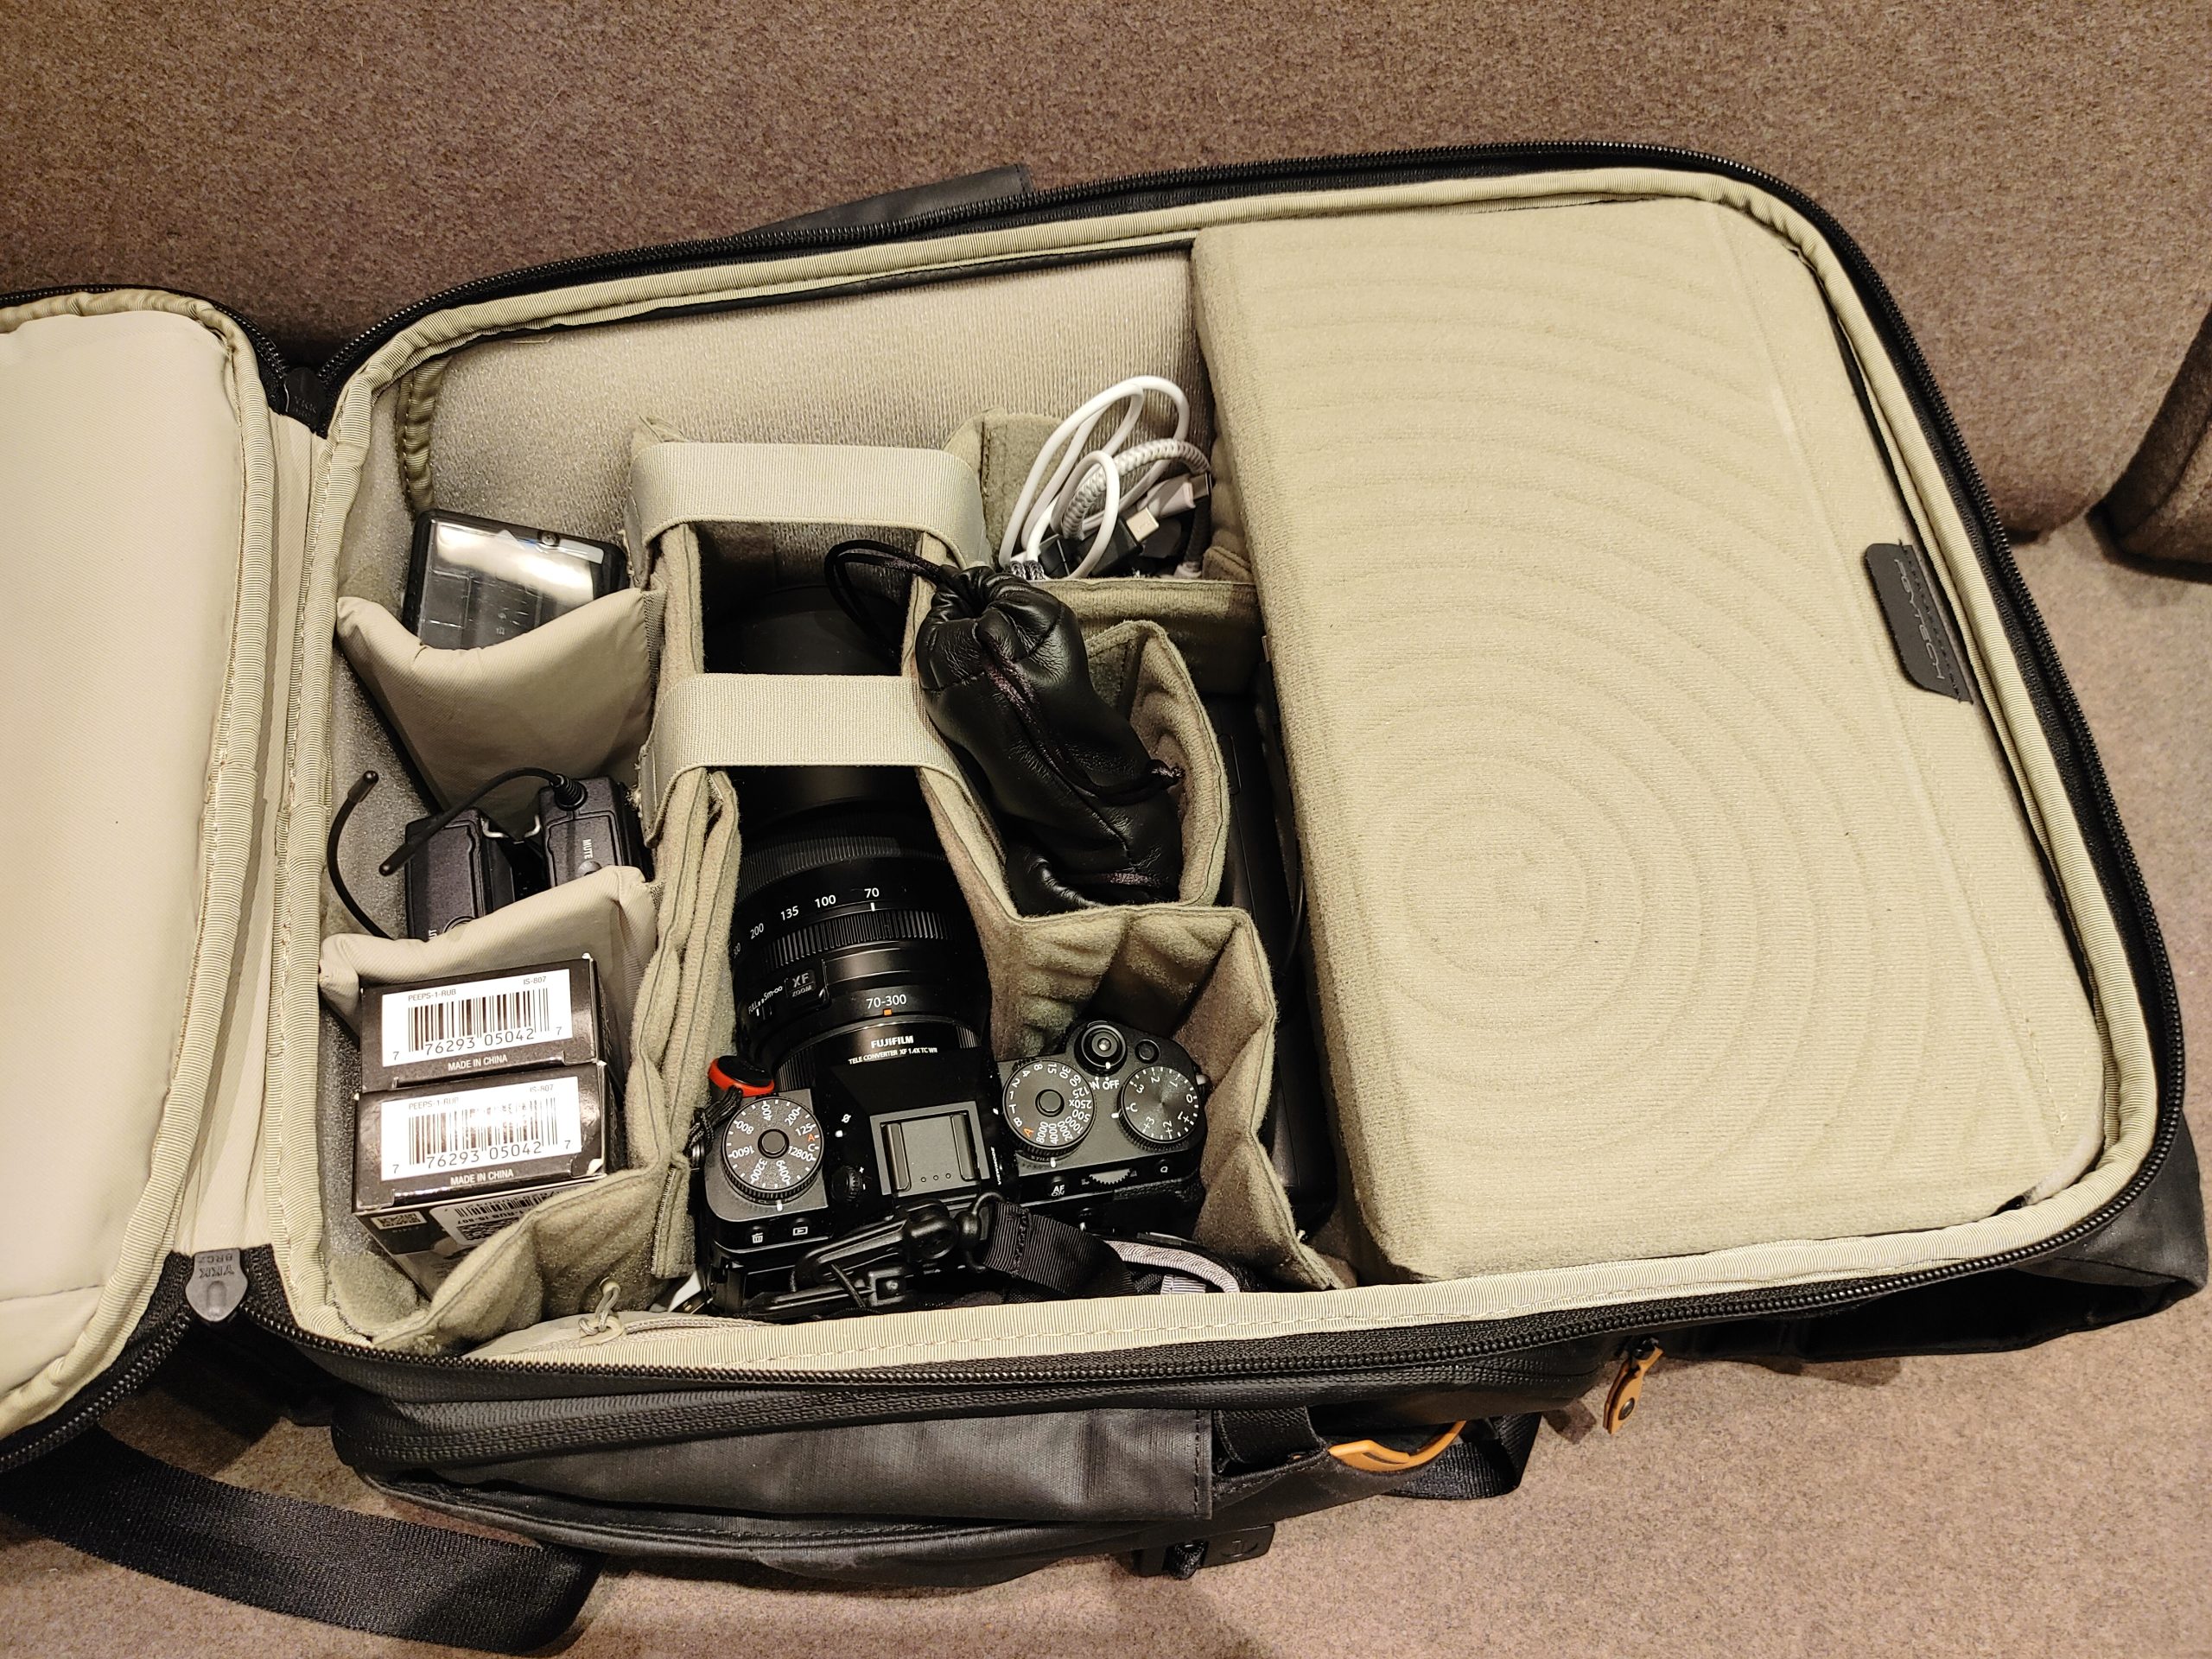
With its plethora of pockets and options, PGYTECH’s OneGo 2 was a godsend while documenting the tour. Every night, I was able assess the needs for the next day and create a hierarchy of access for the equipment. I would continually surprise myself with how much I could fit in a 20L bag. Better yet, in spite of all I was able to pack, I always knew where everything was and didn’t have to rifle through anything to get what I needed. This bag does double duty as a time and space saver. While traveling in a van for six days through four cities with 6 other people, I was able to keep my bag on me throughout without feeling cramped. It was magic.


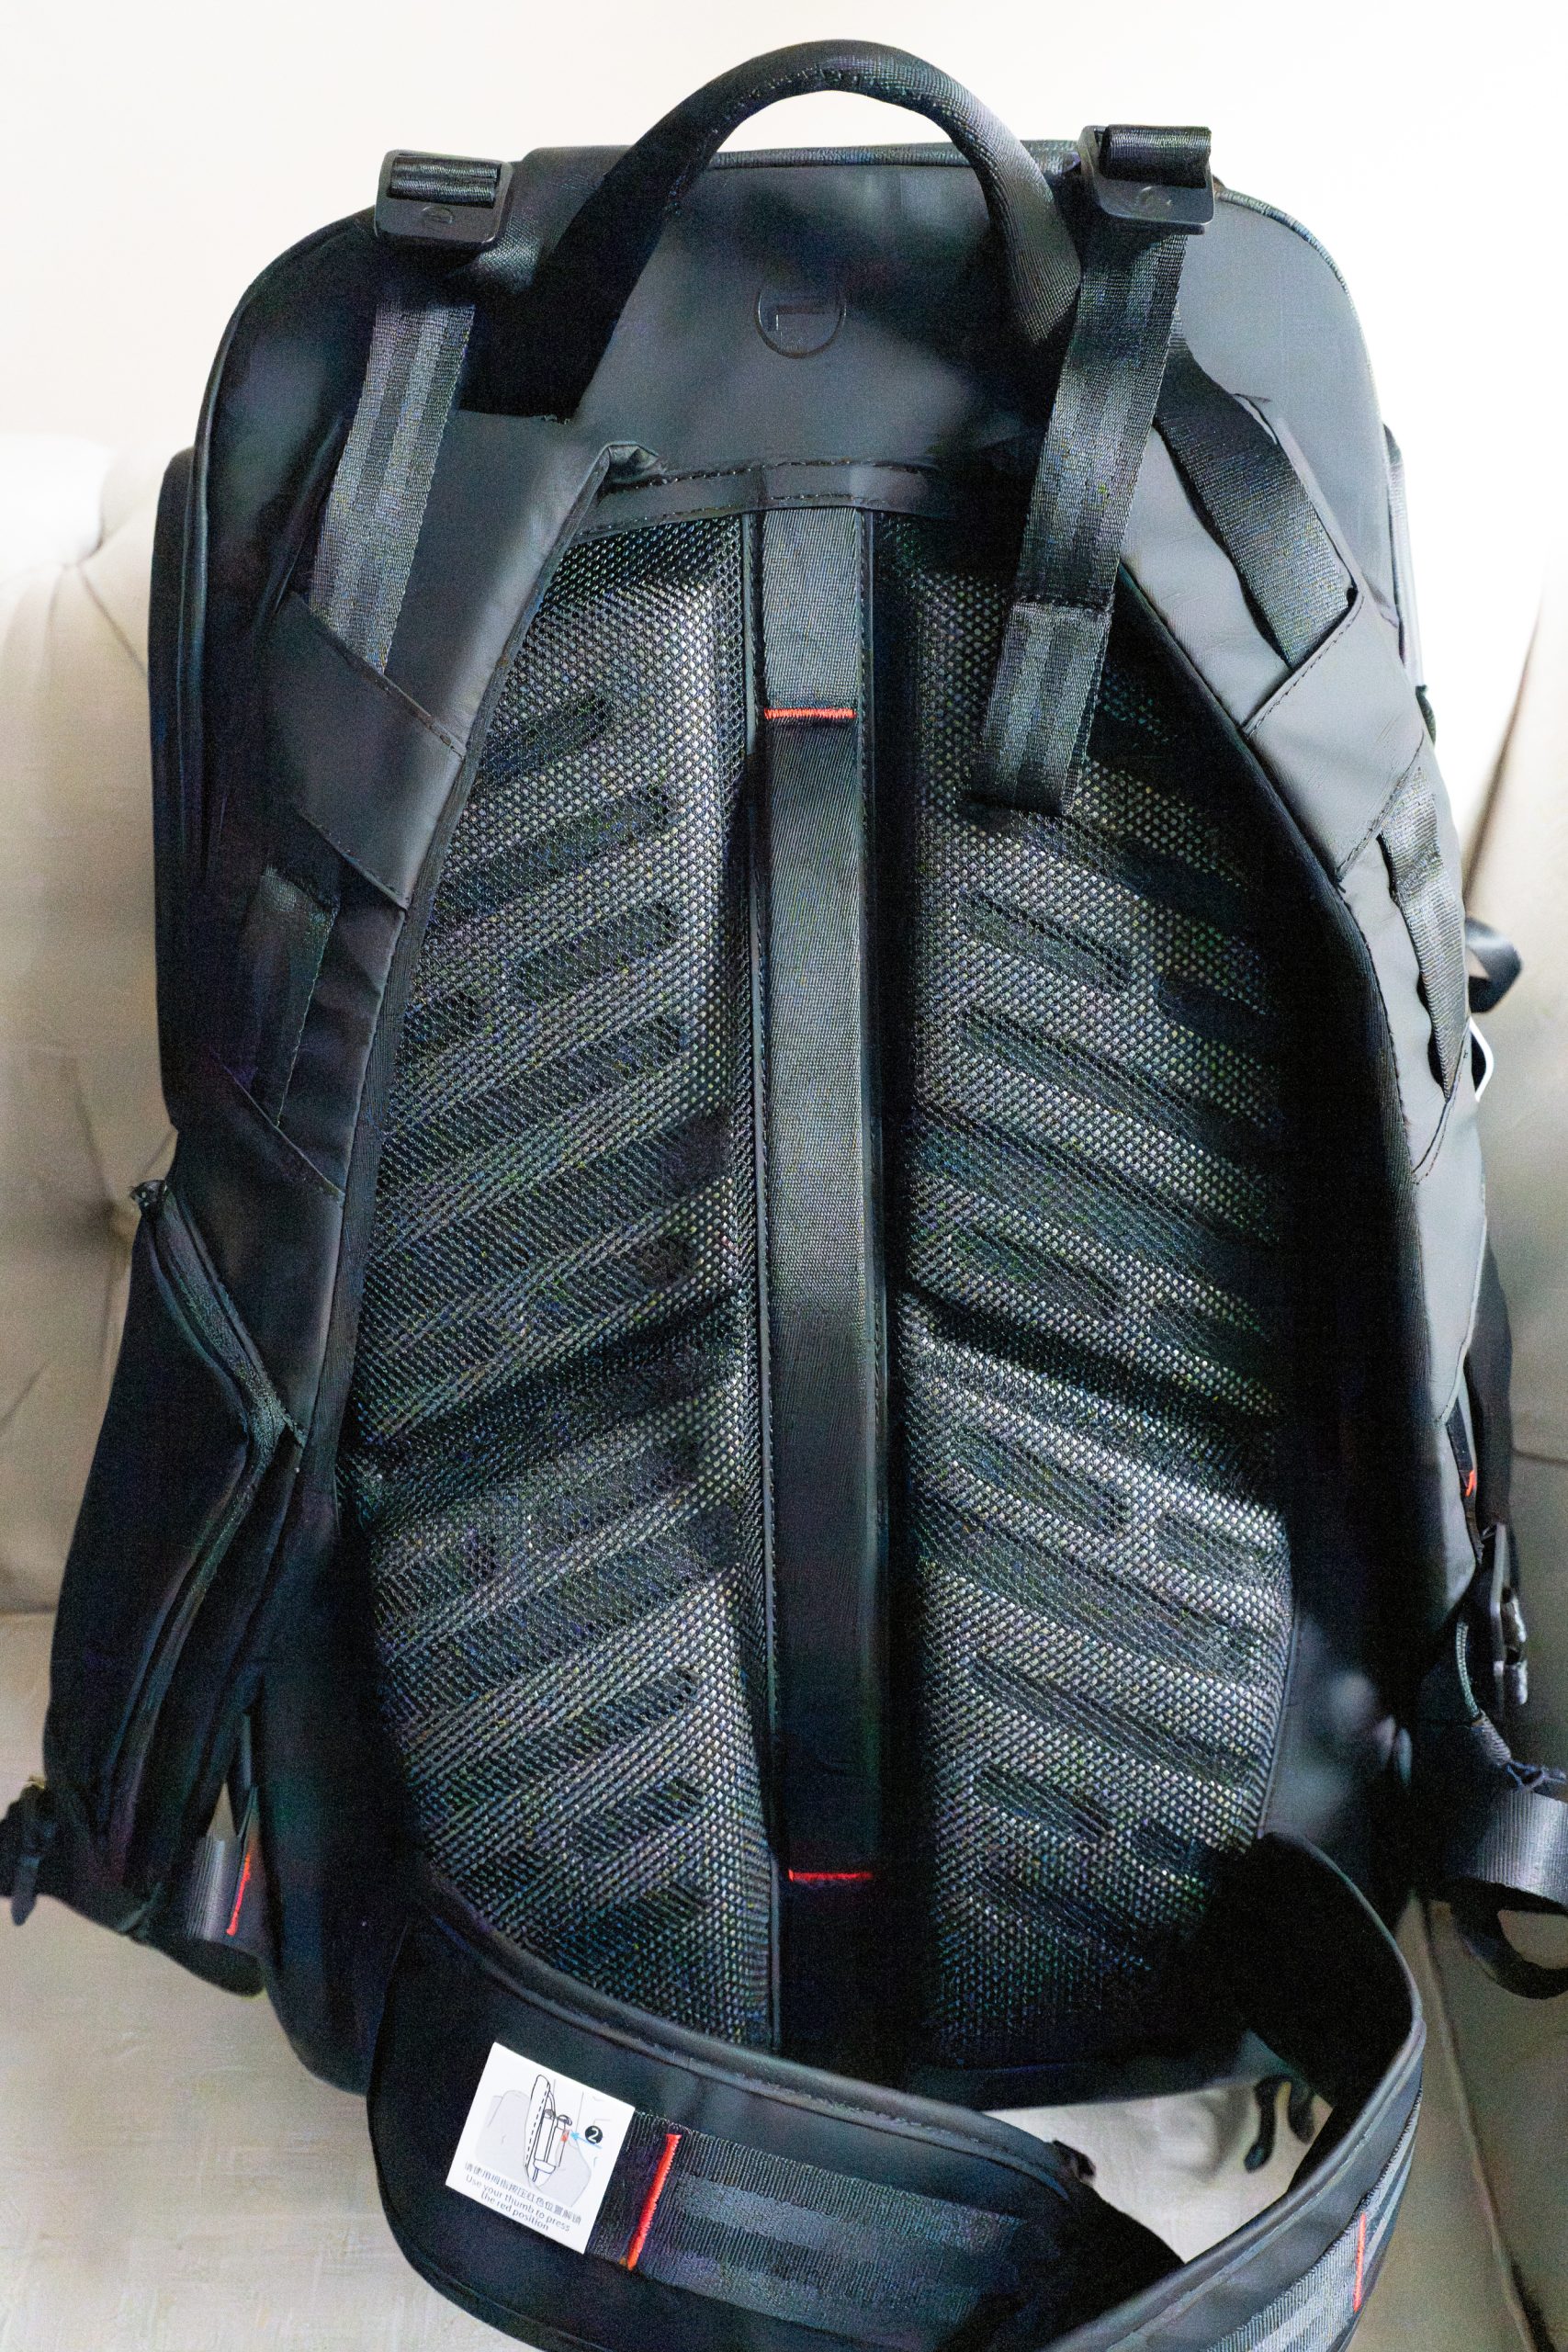
The enchantment of efficient packing can often precede the disillusionment of a heavy bag. Herein lies the OneGo 2’s grand finale of features—weight distribution. In my time with this bag I’ve been able to pack light, but more often than not, I’ve packed this bag to the gills. With its combination of sturdy padded shoulder straps and the ergonomically cushioned back panel, support is the name of the game. On lighter days, the bag practically massages your back. On the days when you’ve squeezed out every last inch of space, you can still wear the backpack for some time before feeling the strain. In either case, I’ve always find the weight to be evenly distributed. The previously mentioned clip-on sternum straps do an adequate job with support, but, given their thinness, I’d be wary of running with a fully loaded bag (not that one ever should).
All in all, the OneGo 2 is a fantastic bag and I feel that I may have been spoiled with my introduction to camera backpacks. This bag can transform itself to adapt to many scenarios — a pure camera kit with a couple of cameras and an arsenal of lenses; a content creator’s best friend that ports a variety of lighting and field recording accessories; or a nature photographer’s companion with storage for outdoor equipment and multiple caches of snacks. PGYTECH and their OneGo 2 embody the magic words of versatility and efficiency.
You can buy the OneGo 2 via Amazon and B&H, but if you buy directly from the manufacturer PGYTECH at this link, use promo code PaulPGY to get 10% off.