








So here we are in 2020, when 4K/Ultra-HD footage is just the baseline, and 6K/8K is inevitable for us. HD video editing had once pushed computers to the limit, but 4K isn’t just a doubling of that resolution: it’s literally four times as many pixels to crunch, while 8K is a stunning sixteen times more than HD. And to deal with all that, cameras are compressing file sizes down more than ever, which takes much more computing power to unpack on-the-fly, when you’re editing. Can you buy a complete computer system off-the-shelf (or online), that keeps up?
Computer manufacturers think of filmmakers as a tiny niche market, despite the overlap with gaming computers. So, they don’t design systems that target the unique demands of video editors. What are these demands, and for each, what is the current state-of-the-art?
THE BASICS
- Fast central processing unit (CPU) with overclocking: AMD Ryzen 9 / Zen 2 [Wikipedia]
- Fast storage drives: Solid State Disk (SSD) via NVMe PCIe Gen. 4 [Wikipedia]
- Dedicated graphics processing unit (GPU) card: Nvidia GeForce 20-series [Wikipedia]
- Large, fast DRAM memory: DDR4 [Wikipedia]
- Expansible operating system (OS): Windows 10 [Wikipedia]
That last item on the list is ammunition for warfare, pitting nerds against hipsters, but if you’re in the Church of Jobs anyway, read no further. This case study simply focuses upon building a Windows system only, and my choice of Windows isn’t about loyalty or style: just to get maximum power. Meantime, laptops are totally out of the game: their portability isn’t worth it.
CPU: NOW IT’S AMD, NOT INTEL
 OS aside, our first fork in the road is choosing the CPU (brains), and there are basically two kinds, in the whole world of computers we’d use: AMD and Intel. Way back in 2016, the last time I built a custom editing workstation like this, Intel was the clear choice for a few reasons. Firstly, their CPUs were just faster than AMD, plain and simple. But also, Adobe Premiere had leveraged Intel’s QuickSync technology to hardware encode H.264 and H.265, native in most of its CPUs, for radically speeding up encoding times. But now, as of just last month, Adobe has begun expanding such hardware encoding of H.264 and H.265, also to exploit most modern GPUs from Nvidia and AMD. (Anyone with an Adobe subscription can find a “Beta apps” category on the left-hand side of the Creative Cloud app, to download the parallel beta versions of Premiere and Media Encoder that preview this feature. It works great!)
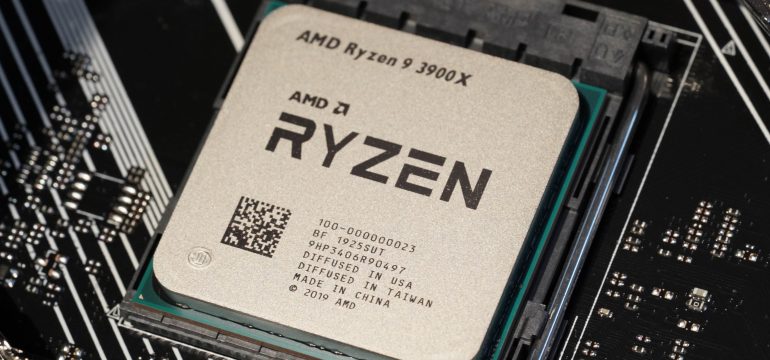
 Then there’s the fact that CPU speed and efficiency has much to do with how its “die” shrinks from each generation to the next. This is measured in nanometers (nm), and Intel has been stuck at 14nm for years (starting from that Skylake PC I built here, almost half a decade ago!). However, just this past year, AMD took the industry by storm and completely demolished Intel, with its 7nm process called “Zen 2,” found in their CPU line-up that’s branded with numbers in the 3000s. For this build, I used the Ryzen 3900x: that’s the fastest of those CPUs, below a premium “Threadripper” tier that’s really overkill for video editing (because Adobe Premiere and other editing applications can’t meaningfully take advantage of “Threadripper” potential). Costing under $500, the 3900x is a great investment, and well worth the upgrade. But if you’re on a budget (and who isn’t, during lockdown especially?), even the new Ryzen 3 3300X at $120 outperforms corresponding Intel CPUs by a stunning margin. Let’s start with any of the Zen 2 CPUs.
 Oh, and one more thing: hardly anyone custom-builds PCs for video production, but the leader in the industry is somehow (quite unfortunately) Puget Systems. They’ve been Intel evangelists for many years, sitting on tons of Intel inventory that they still need to sell, but when AMD creamed Intel badly (for the long-foreseeable future, too), Puget Systems hilarious refused to accept that, and they still don’t. They’re a great example of technological stubbornness, and suspicious brand loyalty. Ignore them.
MOTHERBOARD: X570 CHOICES

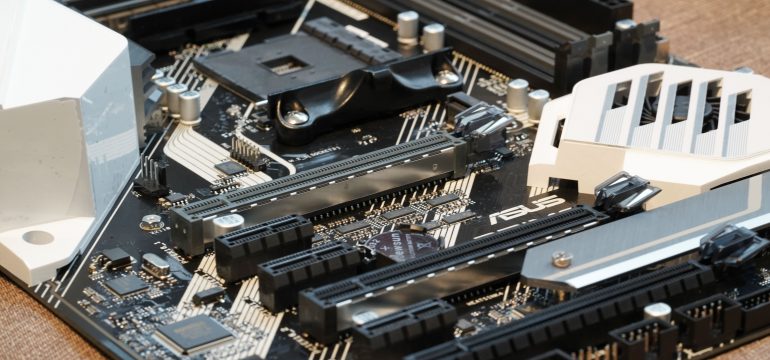
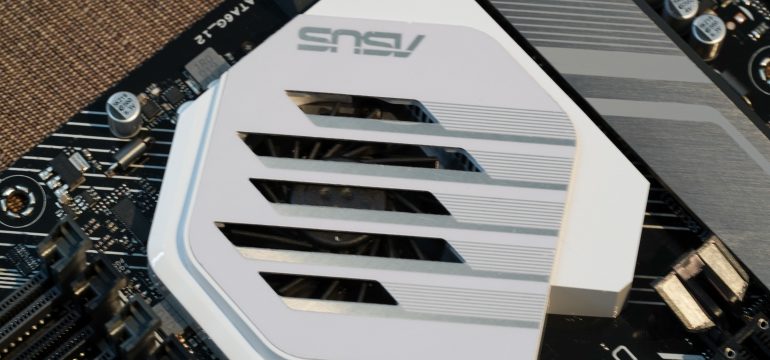
 Above is a picture of the motherboard before it’s mounted into a simple case that goes by the standard size name “ATX” (more on that later). For the new AMD Ryzen 9 / Zen 2 CPUs, you need a motherboard designated “X570” from any manufacturer (and soon, to save some money, “B550” motherboards will be an option). Most are tricked out for gamers, often gleaming with irrelevant tacky lighting effects and other gamer-centric features. The no-frills priority for video creators, instead, is to have maximum ports for connectivity with numerous storage devices — and among the many manufacturers and models, I ended up with something on the cheaper side that doesn’t sacrifice performance at all: the Asus Prime X570-Pro. Unfortunately, X570 motherboards aren’t cheap, and they’re so intensive, that they have their own surface-mounted fans as seen at right. But you shouldn’t be too picky about finding yours: the feature distinctions are minor for video production. And, good news: unlike Intel who make you change your motherboard for every new CPU, it’s just been announced that X570 motherboards will be compatible with AMD’s Zen 3 / 4000-series CPUs someday.
 GPU: USE THE GEFORCE

Just like the battle between AMD and Intel, there are GPU wars between AMD (again) and Nvidia: simply put, the latter wins. Adobe (for example) deploys Nvidia’s CUDA acceleration to a much more impactful extent than AMD’s use of OpenGL. The current state-of-the-art by Nvidia is their GeForce 20-series, and a reasonable median compromise is to buy any manufacturer’s use of their RTX 2060 chipset. Available in 2GB to 8GB of VRAM, 4GB is generally enough, but if you’re pushing the limits, 6GB or 8GB may be worth it. There are RTX 2070s, 2080s, and Titans too, but those performance gains diminish rapidly the higher you go. There’s only so much of that power (designed really for gaming vectors) that you can use as a video editor. (At right, you’re seeing a GTX 1060 installed, but since then I’ve upgraded to a RTX 2070 — anything inside this range is more than enough, given the limitations of all editing applications such as Premiere.)
 MEMORY: CLOCK SPEED MATTERS

One last core ingredient to building your system is DRAM, which is the kind of memory that disappears when you turn off the computer (compared to a storage drive). AMD Zen 2 requires the latest type of DRAM, rated DDR4. Inherently fast to begin with, the new AMD architecture takes special advantage of memory clock speed (over and above latency ratings), so the choice you see here is a great compromise at 3600 MHz, from G.SKILL in their “Ripjaws V” Series. I’m recommending a single pair of 16GB sticks, getting you to 32GB of total DRAM which is plenty to start out with, while leaving two empty slots for expanding up to 64GB someday.
But let’s pause for a second, and consider whether it’s worth building your own PC after all! If you lack the patience of a saint, and you feel tech-averse, that has nothing to do with being a good filmmaker, and you’re better off buying something ready-made that approximates these specs (but definitely costs more). Yet if you do want to build your own system, you should be prepared for the risk that it won’t work at first because of one component or another that you hooked up wrong: diagnosis isn’t always easy. But if you feel comfortable with this stuff, and enjoy kit-building as a hobby (LEGOs?), then the benefits of building your own system are pretty huge. Mainly, it saves you a ton of money that you can spend on making real art. (Meanwhile, specialists like Puget Systems who build dedicated video editing workstations notoriously price-gouge, as if it’s genius to buy these common parts from mass retailers everywhere.) Also, every time you upgrade to the next system, you conserve by re-using some parts. Most importantly, you get a way more powerful system than you can buy from any store. Put another way, Best Buy doesn’t sell anything this fast. Not even close.

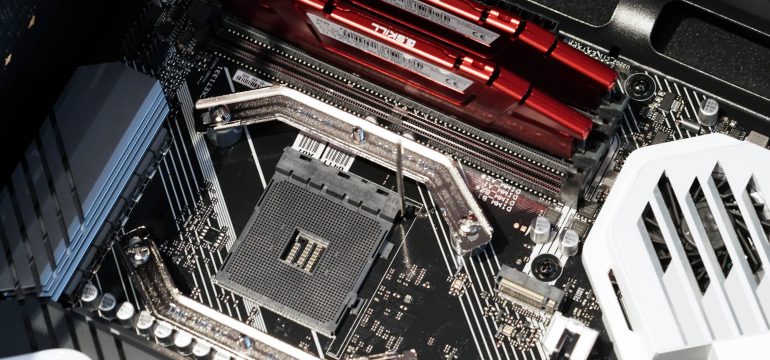
So what are we looking at above? That’s the motherboard ready to get stacked. The square that holds your AMD CPU is capped at first, but the metal latch has been swung open as seen above. To get full speed out of your DDR4 DRAM memory, you have to install them in pairs, and those DRAM sticks must have the exact same specs. (In the motherboard’s BIOS settings before booting into Windows, you’ll want to load up the so-called Extended Memory Profile (XMP) so that the rated full speed gets enabled.)
SSD: DEATH TO MAGNETIC SPINNING PLATTERS


Before we get to installing the CPU into its little square socket, nearby there’s a slot labeled M.2. That’s the newest and fastest possible way to run a boot drive (commonly called your “C:” drive). Even newer than mSATA (which was a notebook computer form factor for small SSDs), M.2 can tap into the motherboard’s PCIe x16 bus — those expansion slots with clips on the end, as seen at right — using a protocol called NVMe for the fastest possible disk speeds you can achieve today (theoretically, 5000 MB/s if the drive is PCIe Generation 4).

What you see installed here is an HP EX950 2TB PCIe NVMe drive, but in the other M.2 slot on the motherboard, I’ve got a faster/smaller boot drive too (more on that later). Namely, SSDs are the holy grail of fast, reliable media, just as traditional magnetic hard drives are becoming more and more antiquated. We’ll laugh someday about how our data got stored on spinning wheels with styluses bouncing back and forth to scribble data in and out.
CPU FAN


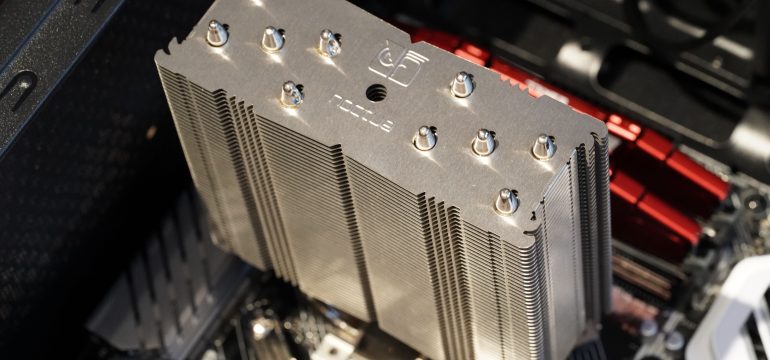
But back to the CPU: you probably know that they get hot, after seeing fans, and hearing them whir louder when a computer’s thinking hard. We need to put a heat sink onto it, bonded with thermal paste, to transfer heat from the burning hot metal surface of the CPU to a fan that bolts down on top of it, seen at left, blowing away the heat. You might have heard about “liquid cooling,” with futuristic tubes delivering refrigerant, but it’s really unnecessary. You’re not going to be overclocking into danger zones if you want a reliable creative platform. I chose the median of best-in-class fan coolers, Noctua’s NH-U12S, which you could re-use on your next system someday too.
POWER SUPPLY
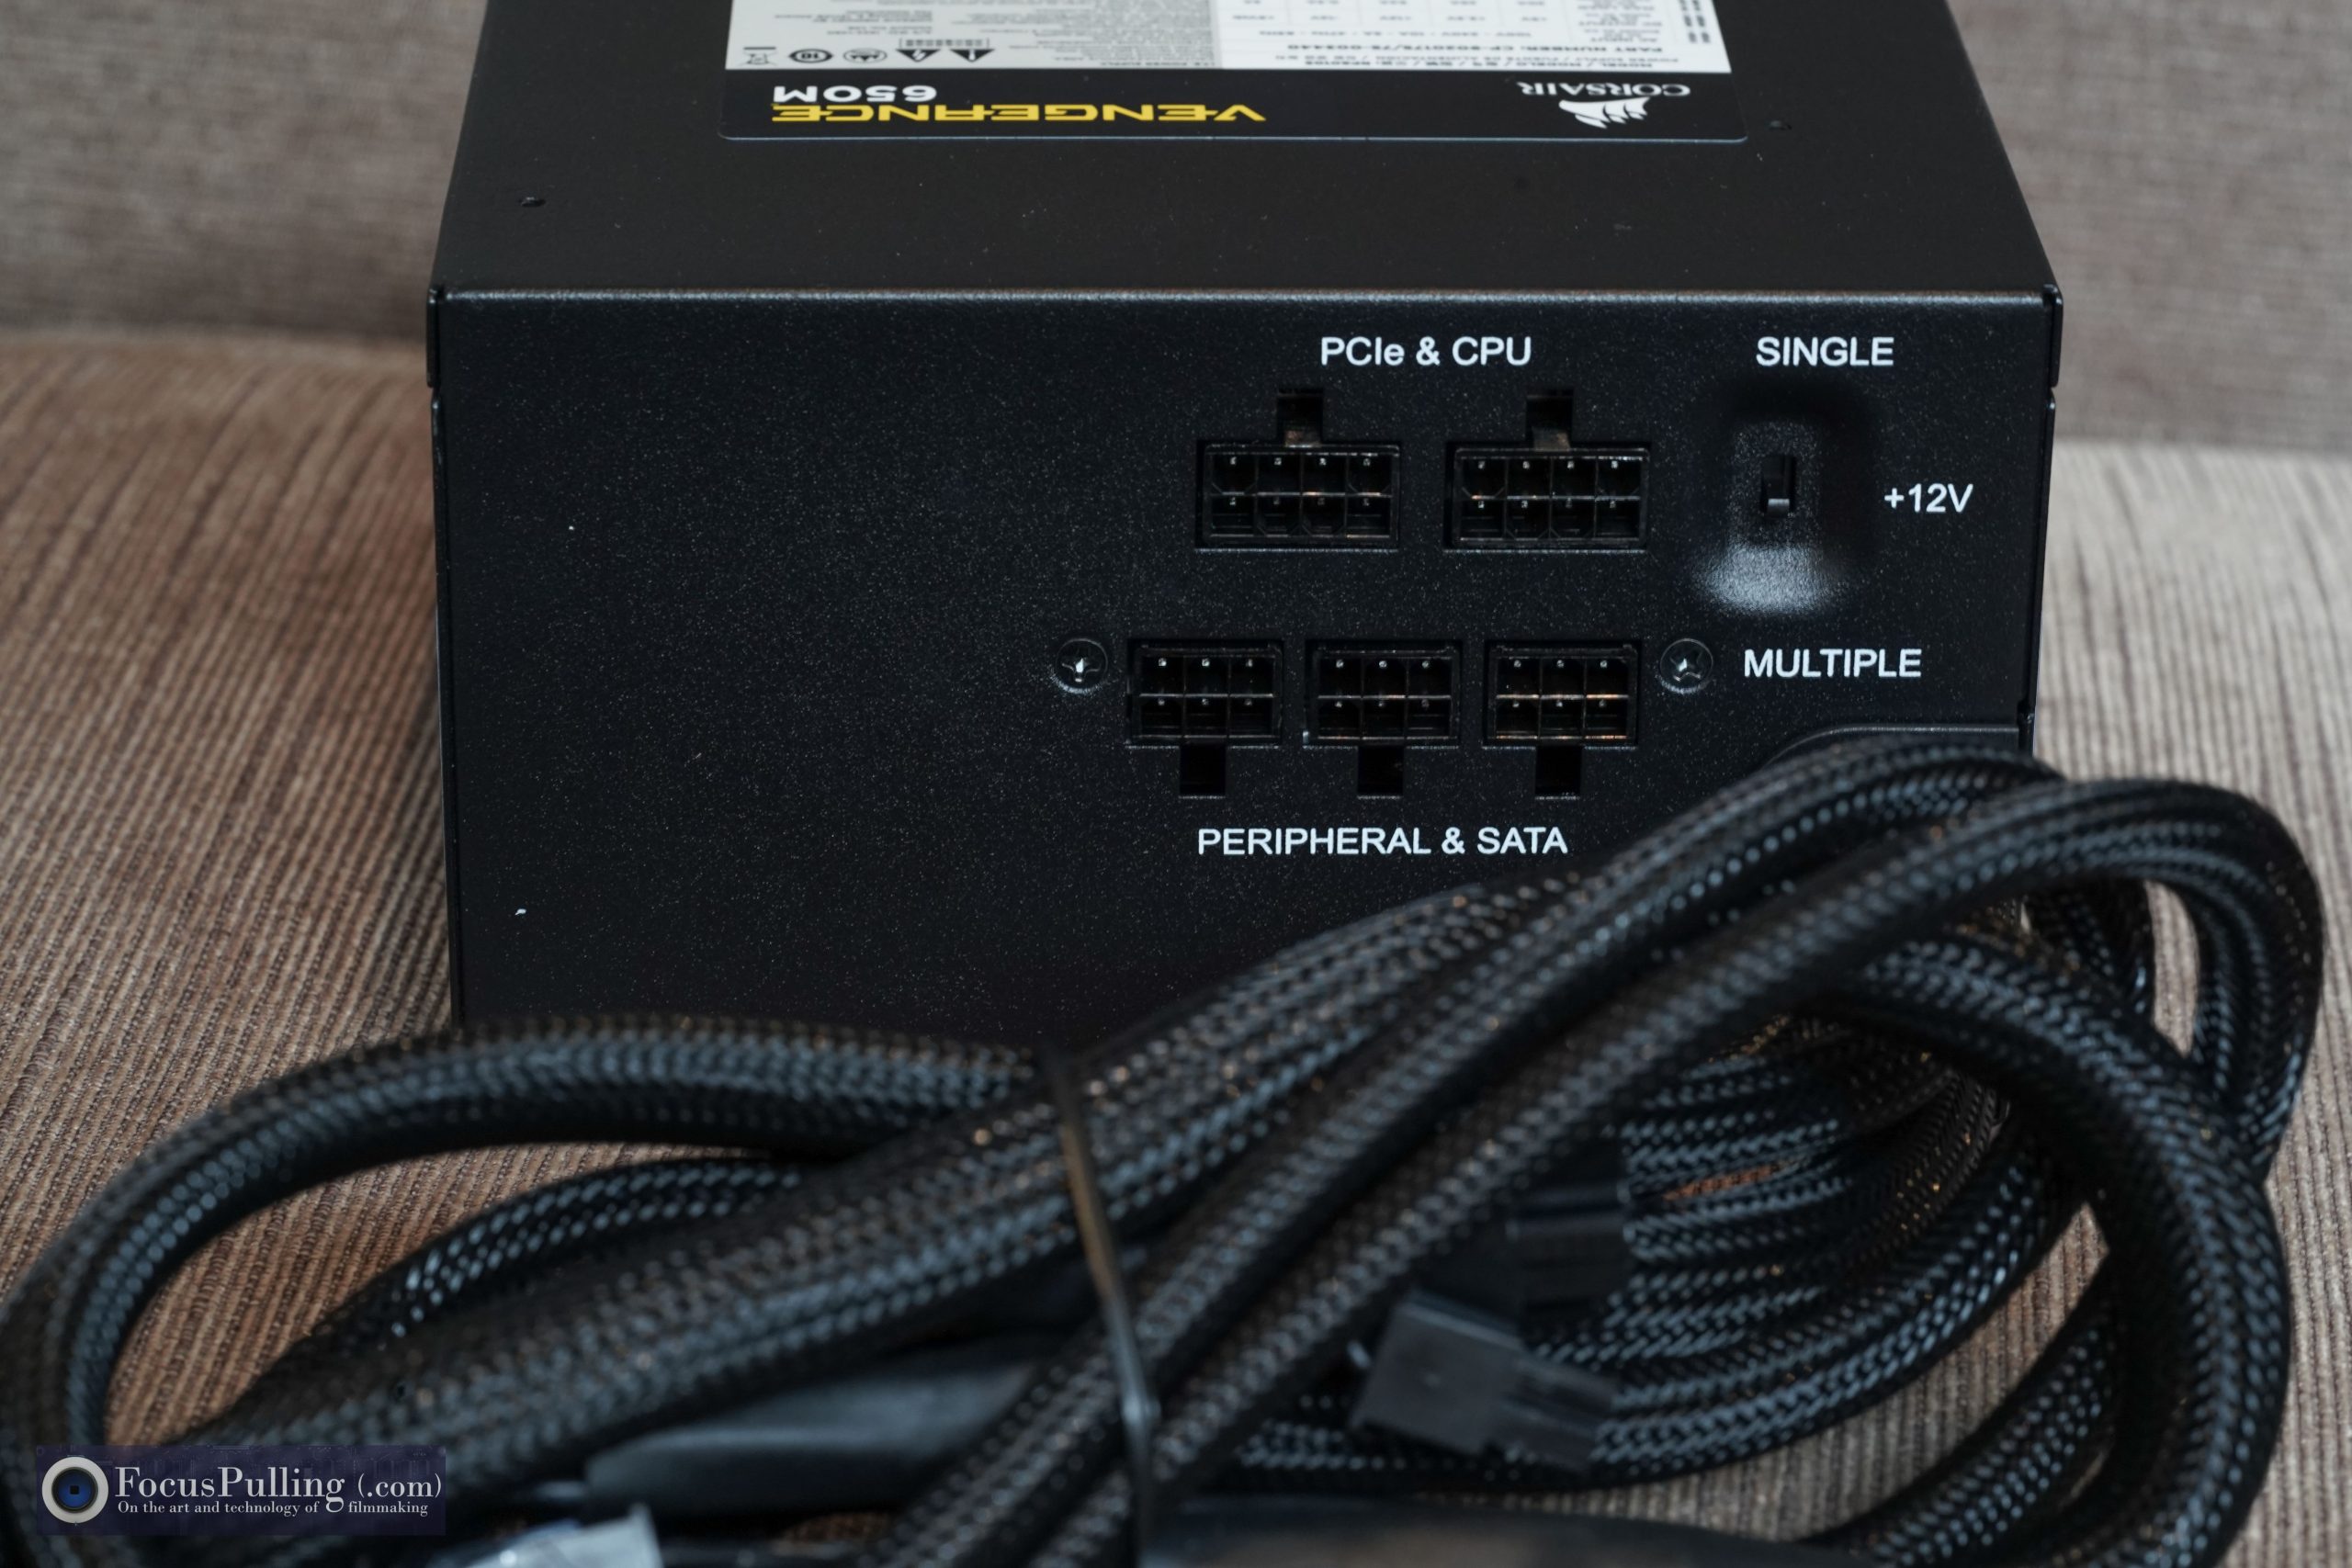
So we’ve got our CPU installed, got a fan bolted down to keep it cool, and the memory’s installed. But we still need voltage/amperage from a power supply unit (PSU). I chose a 650-watt model, which is the neighborhood of power that most systems of this type need. 1,000 watts is overkill, 500 watts is pushing it at the low end, and less than that is dangerous. It is not critical to find the perfect number, but more is better, and PSUs are relatively cheap.

 CASE: TOWER OF POWER

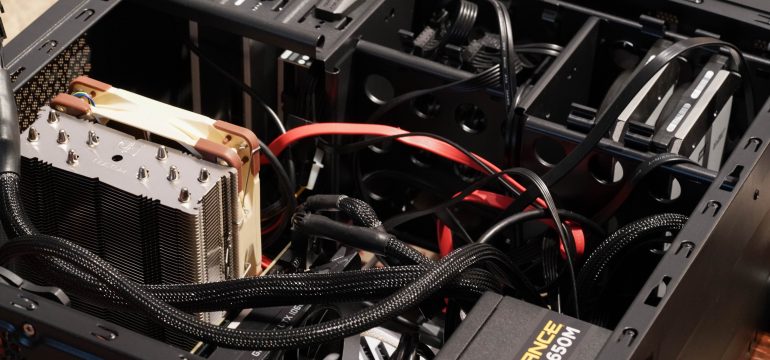
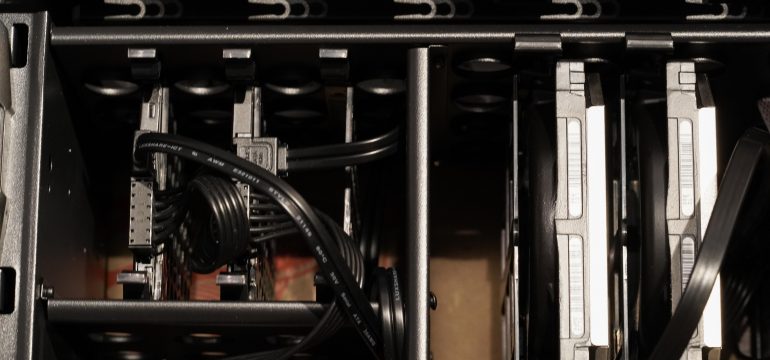
So, what about that case again? As our computer comes together, you’re starting to see the biggest headache in system building: all those wires. Mainly, there are SATA cables (for the drives), USB/port cables, and power cables (usually braided). Down the middle, the Nvidia GPU card takes up lots of room, and it even needs its own power cable from the PSU, being a kind of a computer unto itself, with its own circuit boards and internal pair of cooling fans. Around this whole mess, some folks spend lots of time on “cable management,” neatly bundling together related wires and even color-coding them, but I’m not so tidy. A good case should leave enough room to reduce confusion, but even more important is how the case holds your media storage drives in place, usually bracketed horizontally once you tip the case upright. You’ll be shifting them around a lot over time, whether you’re upgrading drives, or removing crashed ones. So, the measure of a good case is how easy it is to do that. I chose the Fractal Design Focus, especially because it has the inexplicably rare feature these days of front-panel slots for drives and inputs. Most other cases, you’ll find, seem like they’re designed for teenage girls who want rainbow colored lights and pretty mirrors.
 MORE FANS: GO BIG

Another key feature of a case is air flow. There is always a rear fan as seen at left, and often a top fan, built into the case that together push-pull circulating air, especially to exhaust the heat from the CPU fan. By having more and larger (120mm) fans, your overall noise level goes down compared to the worse loudness of one small (90mm) fan or two that otherwise would need to carry a heavy load, spinning madly beyond its means.
ADDING STORAGE DRIVES: CHOOSE CAREULLY
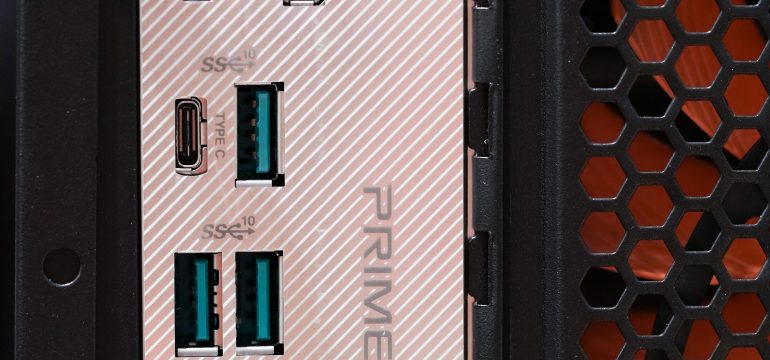
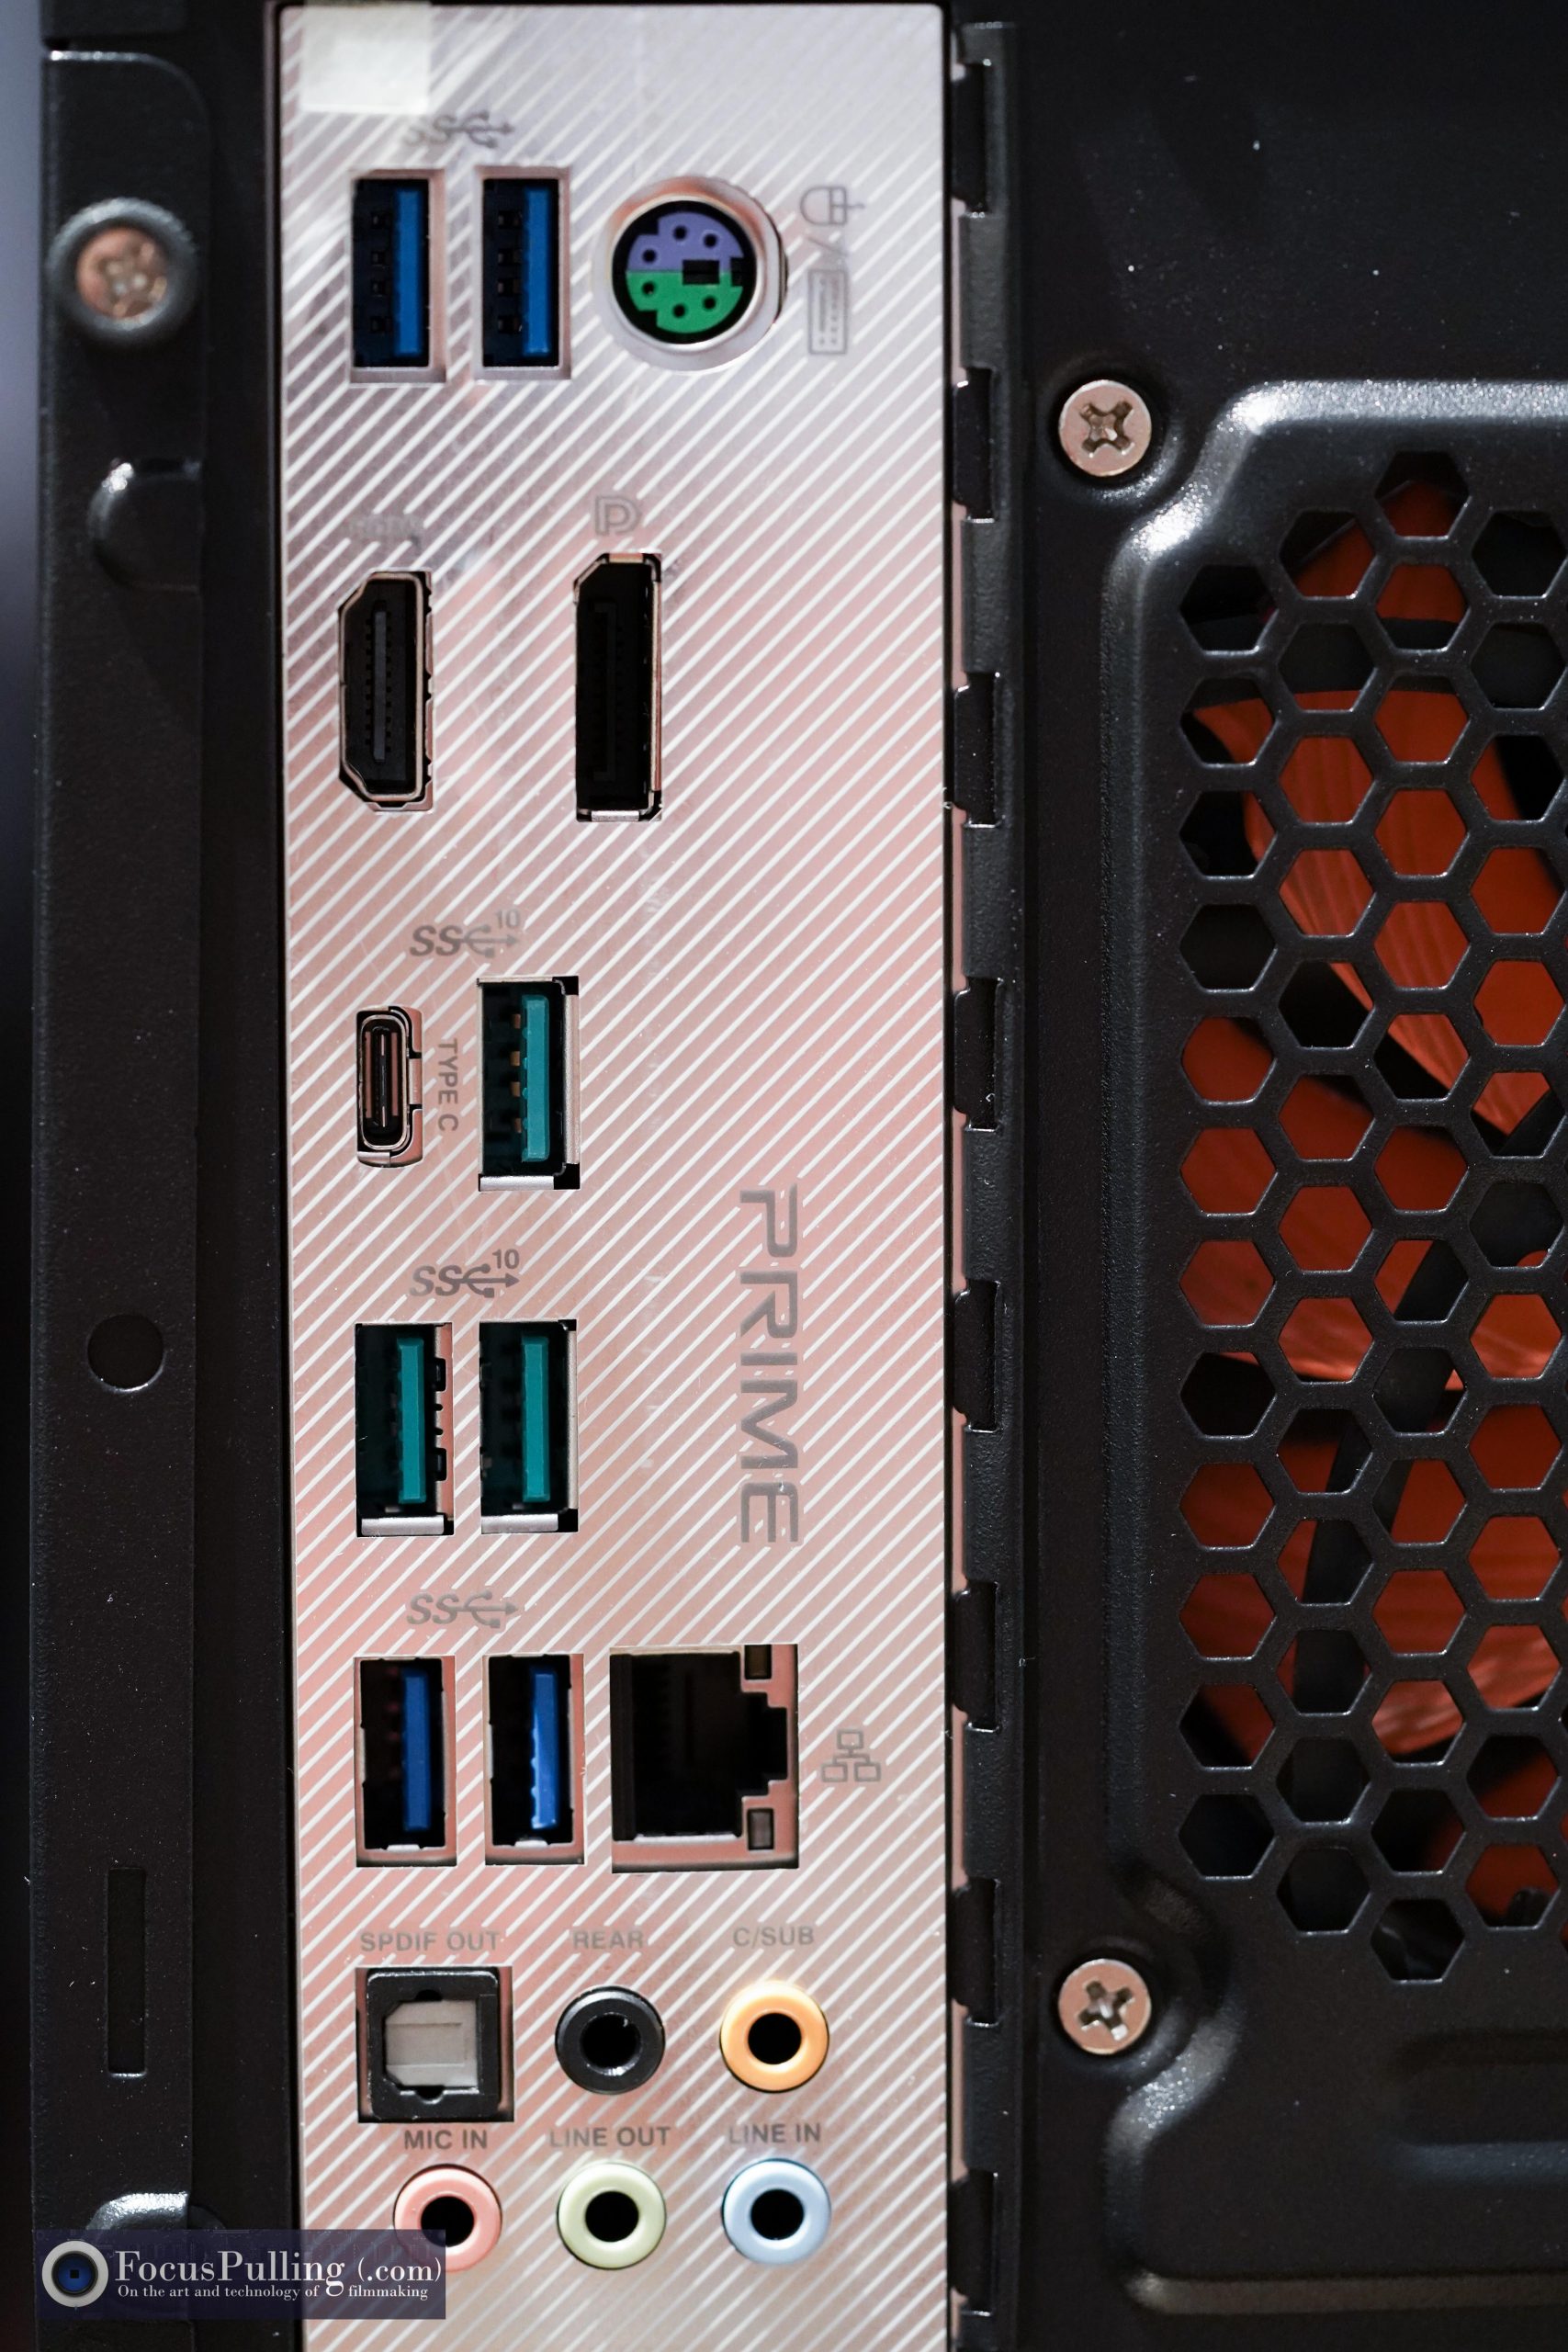
By now, everything’s hooked together, and in the picture at right you can see the rear panel with its numerous ports. From this angle, it’s healthy to equate the whole idea of external ports with the term “bottleneck,” especially when it comes to data storage. Internal drives directly connected to the motherboard via SATA3 (or especially that new M.2 NVMe bus) are faster than external drives connected via USB 3.2 or worse, as a general premise. You could be booting internally from the fastest drive on the market, but: if you’re also editing video files stored on an external drive via USB, or even an internal 5400rpm “green” drive, everything slows down. Of course, video files (especially these days, with high bitrates and Ultra-HD resolutions) are the most demanding streams of data, and they deserve the fastest drives — not the slowest, which is ironically where many filmmakers store them in a sort of premature archival spirit. Similarly, you could get the fastest and biggest single drive on the market, shouldering all of your data, instead of spreading tasks across multiple drives, and you’d have another type of bottleneck. Basically, you could have an extremely fast computer like this AMD build, but it all means nothing if a single drive slows everything down. So, what’s the plan?
- Boot Disk (or “C:” Drive): smaller and fastest SSD, for system and applications
- Camera Footage Disk: large SSD, for video files, preferably removable (see Vantec example below)
- Project Disk/Library: large SSD or 7200rpm hard drive (not 5400rpm), for project files and library
- Cache Disk/Scratch Files: small SSD or 7200rpm (not 5400rpm) hard drive (can be combined with #3 if necessary), for, e.g., Adobe Media Cache and audio peak files

Those are just suggestions, but the theme is, you should spread out categories of use across multiple drives, and allocate fastest drives to those tasks that need it most. Granted, we are on the brink of an all-SSD world, but they’re still expensive, and one versatile way to maximize their use is to put them into removable cartridges, for mobility and swapping projects. Above, the Vantec slot accepts a proprietary cartridge that not only connects straight into the motherboard’s native SATA3 6Gbit/s bus for maximum speed, but also has a reasonably fast USB 3.2 Gen. 1 port for when you need to go mobile from a laptop. I am putting 1TB SSDs of camera footage into these cartridges, letting me swap between projects, and I take them with me to other workstations between studios, and on the road. It’s a clever solution that never quite caught on, but you might find a solution of your own among currently available hot-swap drive tray options.
 One last thing to mention is the inevitable fact that you’ve been accumulating a bunch of old hard drives over the years, replacing them with bigger and faster ones. You may not want them to be mounted and spinning inside your case, but for redundant archiving, an external enclosure can keep them useful. The Mediasonic 4-bay enclosure seen at left connects to your computer via USB 3.2 Gen. 2, and inside you can span multiple drives into single larger volumes using the “Storage Spaces” feature included in Windows 10. True, you wouldn’t want to rely on this feature for critical data (it’s just as dangerous as a Drobo), but it fits my archiving needs perfectly: I keep my camera footage and project files stored on drives inside my case, while also paying a small fee to Backblaze for unlimited cloud storage of everything, while making a parallel copy onto the external drives — so, I’m less worried about that external array, given the two other copies. This is a more pragmatic setup compared to redundant RAID arrays, which are thankfully nearing extinction (even though IT-department-types will probably stay stubborn). RAID was always a goofy compromise, invented mainly for a speed boost that has since been eclipsed by the SSD.
CONCLUSION
Wrapping up, for such a complex subject, this case study couldn’t have been a thorough step-by-step, how-to guide (and for an example of a detailed general guide, check this out). But it’s meant to get you thinking about whether to build a system, and what would be involved. Upon flipping the power switch on, you’d need to buy an inexpensive Windows license, and you’d have a world of overclocking waiting for you, to try and push the AMD Zen 2 CPU to its limits. Overclocking used to be only an enthusiast’s art form, but today it has become rather easy if not automatic at both the BIOS and background-app level: for example, stepping up processing power, as any video render job might demand it. Taking the broad view today, this is a good time to upgrade, especially if you’re reading this during quarantine because of COVID-19, waiting for creative projects to resume, when we’ll need a fast platform to support our work. Life is short: Don’t let your workstation slow you down!
SUMMARY OF RECOMMENDED PARTS
Asus Prime X570-Pro Motherboard
AMD Ryzen 9 3900X 12-core 3.8 GHz Desktop CPU
G.SKILL Ripjaws 5 Series 32GB DDR4 SDRAM Memory
Nvidia GeForce 20-Series Graphics Processing Unit Card
Corsair 650W Power Supply Unit
Fractal Design Focus Mid-Tower Computer Case
Samsung 970 Pro M.2 NVMe 512GB Solid State Drive (Boot Disk)
HP EX950 M.2 NVMe 2TB and/or Crucial MX500 SATA 2TB Solid State Drive (Footage Disk)
Mediasonic 4-Bay External Drive Enclosure
Backblaze Unlimited Cloud Backups
(Your grand total will vary a lot, depending on sale pricing, the X570 motherboard you choose, opting for the 3300X instead of the 3900X CPU (a $400 difference), etc. — but it can go as low as a grand, if you economize. The great thing about building your own system, is that it’s constantly scalable.)